GIFTING ART VS. GIVING ART AWAY

BUFF BUDDHA - JACKSONVILLE
Every now and then I feel compelled to gift away a piece of my artwork. There is no rhyme or reason to my decision on this matter. Sometimes it could be someone who was really impacted by my artwork, or someone who made an impact on me at some point in my travels and adventures in this thing we call life. Or just me simply giving recognition to someone for something they did for me.
I do feel there is a big difference between someone wanting a piece of my artwork, versus someone needing it.
The first piece I ever gave away was Buff Buddha. Incidentally, Buff Buddha is the ONLY person piece I have ever painted. I rarely and I mean rarely paint people and animals. They just aren’t my thing. I have been sketching around with a jelly fish lately though.
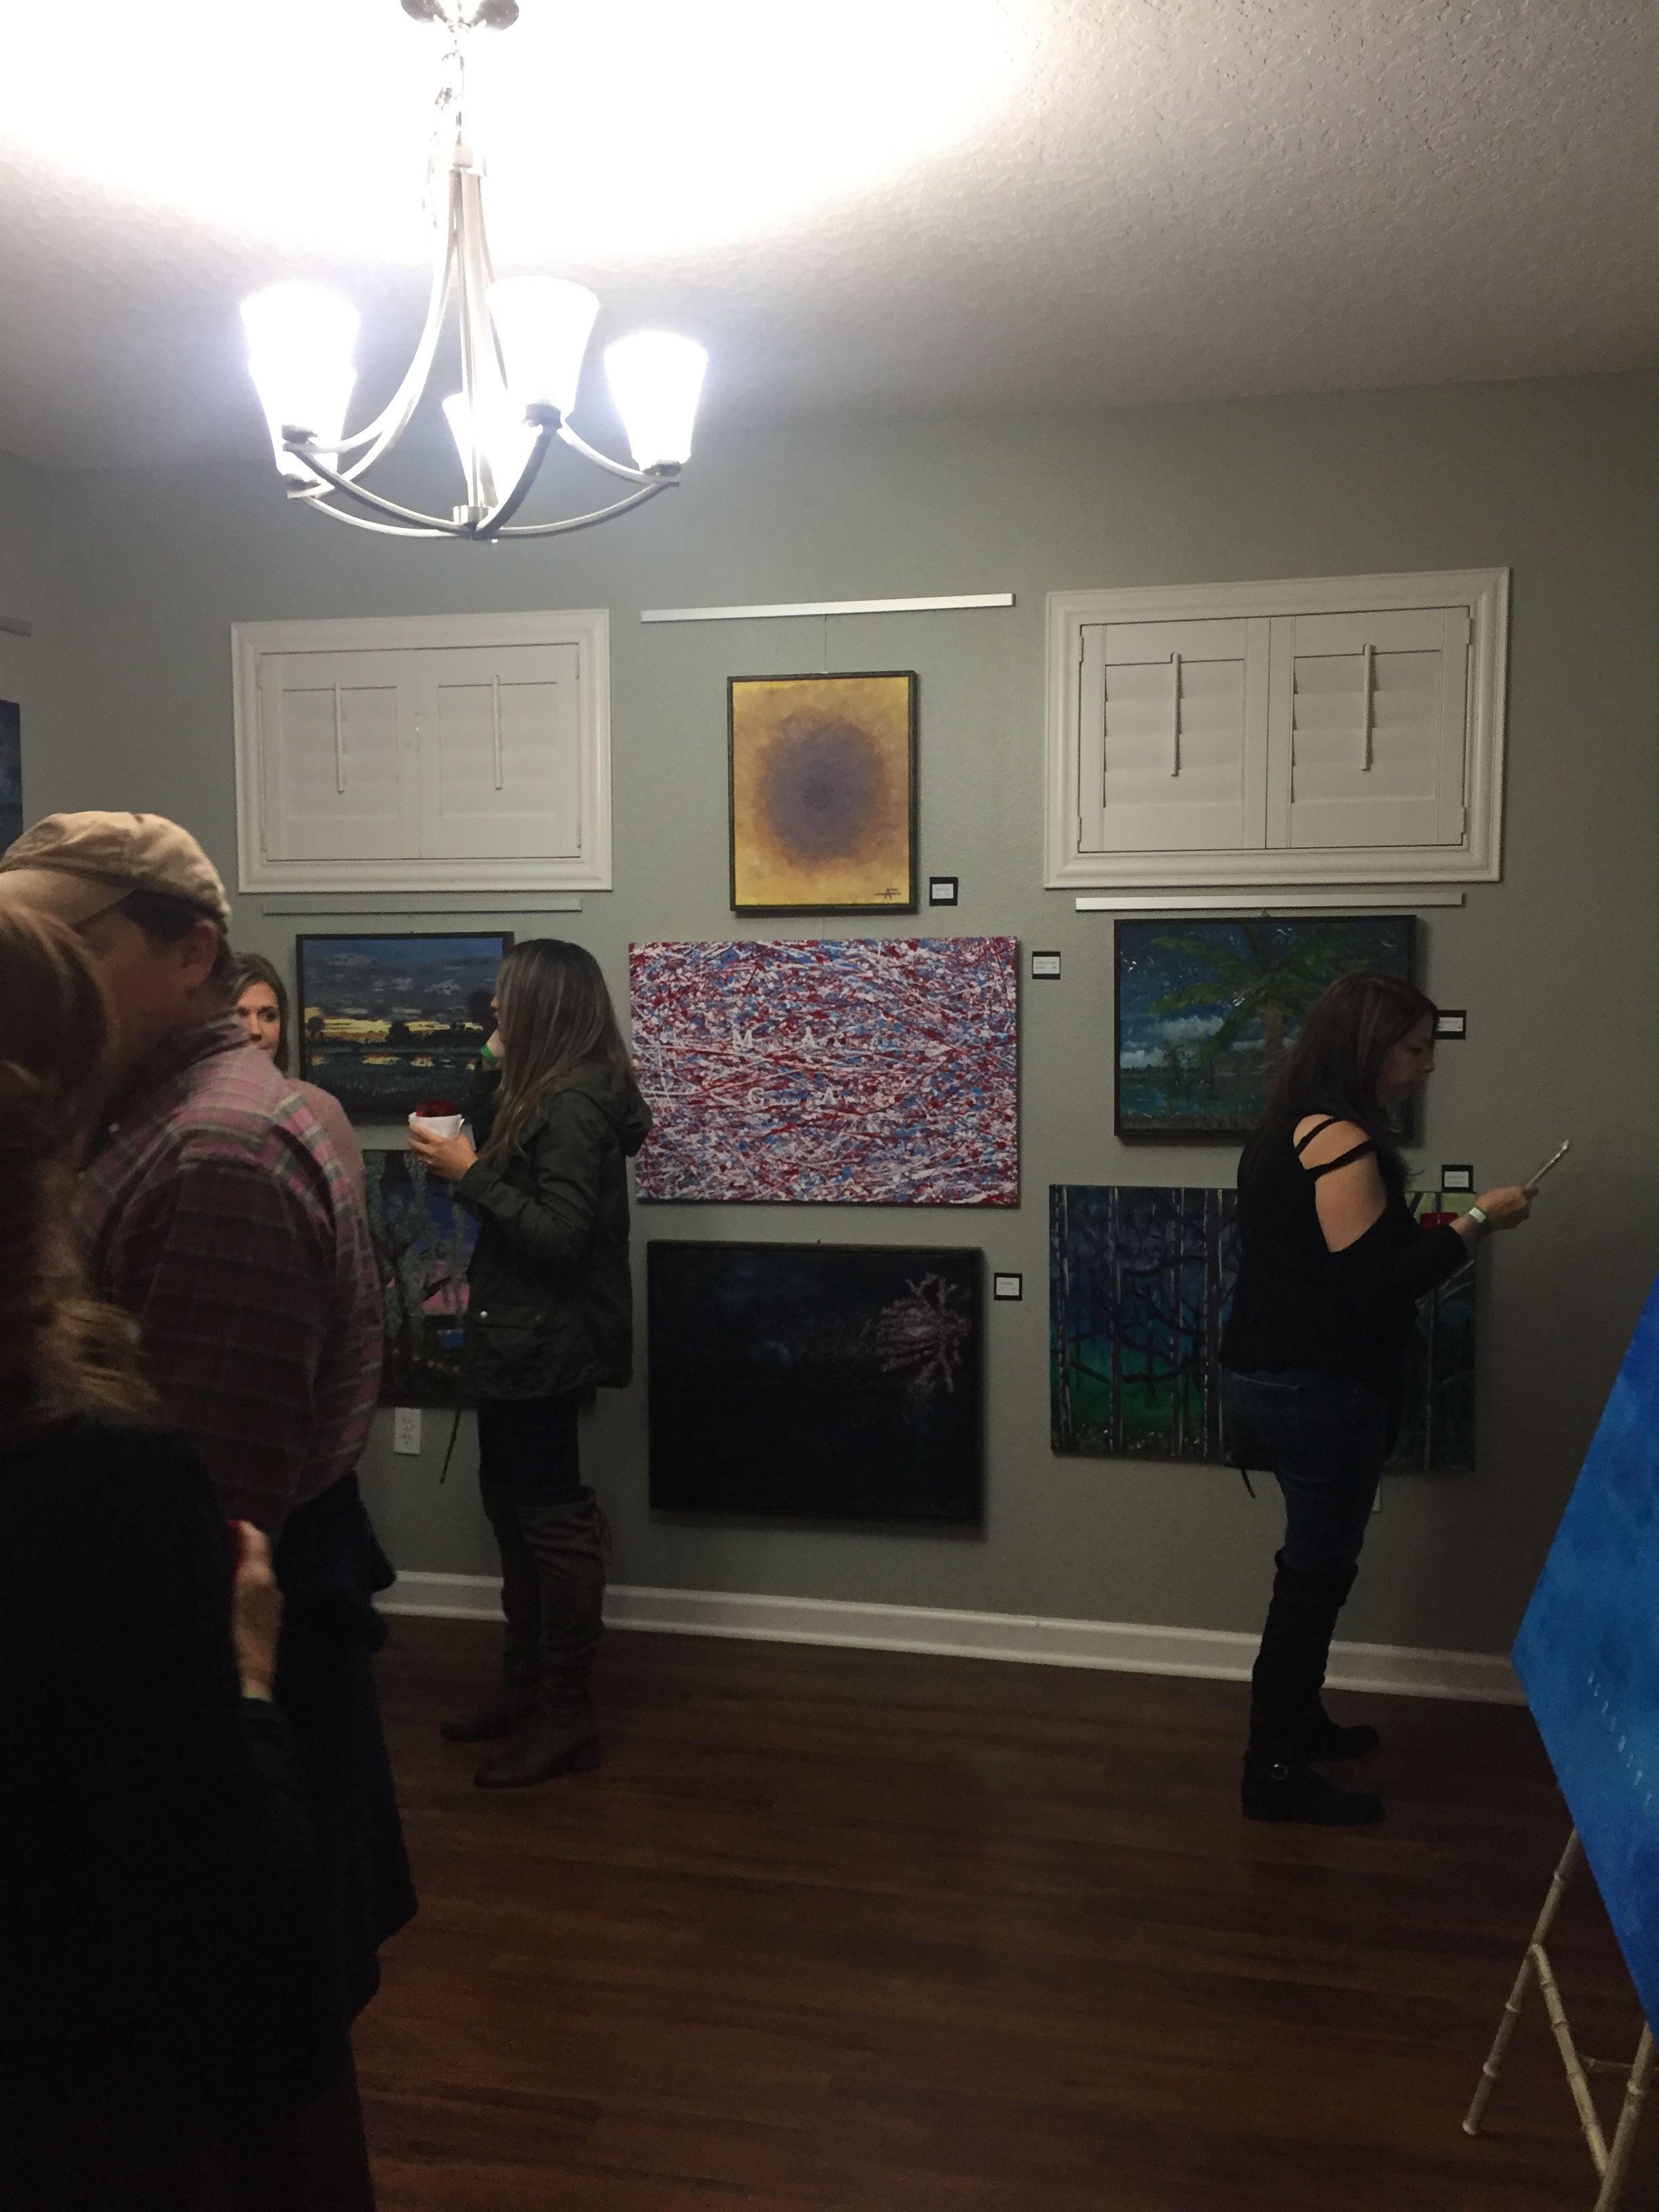
At my first ever art showing, my lifelong best friend and his wife showed up to support me. His wife wanted to purchase BB from me, and I told her that I couldn’t sell it to her. I also told her that I wouldn’t give it to her. What a dilemma, right? It wasn’t that I was attached to the piece, I just couldn’t accept money from my friends that I’ve known for over 30 years. She looked at me in disbelief, but accepted my decision and logic. We moved on.
Fast forward a year later, they came to visit me at another showing in New Smyrna Beach, Fl. It was a super windy day and I had two canvas get damaged that day due to the elements and travel. After I was all set up, I found myself having to babysit some of the artwork due to the high winds. I realized a third painting had been damaged. Then I saw Buff Buddha staring at me. Buff Buddha was swaying back and forth gently on my tent wall/fence. Buff Buddha was toying with me, as if saying, “I’m next buddy.”
At that moment, I had an epiphany. I knew that I had to let Buff Buddha go. Especially before he became a casualty. I made a decision that I would gift it to my friend’s wife that day. Not only did she wan it; she needed Buff Buddha. After they finished lunch, they came by my tent and I remember his wife looking at BB indifferently saying, “There he is, Buff Buddha.” Then she shook her head and walked away.
Slowly, I went over to the piece and took it down. I walked up behind her, tapped her on the shoulder and said, “here you go, he’s yours.”
She couldn’t believe it. She was stunned. I couldn’t believe how grateful and shocked she was. I felt so awesome that someone felt that way about me giving them a piece of art that I was stunned, lol. By the way, if you ever feel inclined to give away some of your artwork, don’t expect a reaction like the one she had. More on that later.
I knew that something had happened to me at that moment, on that day. I had come to a realization that my endeavors in art were not all about selling my art. It was the story about my journey through art and the experiences with people I would have and have had, because of art. I never sold a piece of art that day. I gave away a piece to someone who needed it. A few weeks later I sold my first piece of art, right out of our home to a friend of my folks.

Moondancin - Orlando
Moondancin and Return of the Perseids were gifted to a gallery owner and his wife in Orlando. He helped me launch my first ever public gallery exhibit. I sold three paintings that night and another a week later. If it wasn’t for his invitation for me to exhibit, I may not have for a couple of more years. Thank you.
I was extremely grateful for the opportunity that was presented to me. The look on his wife’s face was priceless when I took her favorite painting in my exhibit, right off of the wall and handed it to her.

Return of the Persieds -Orlando

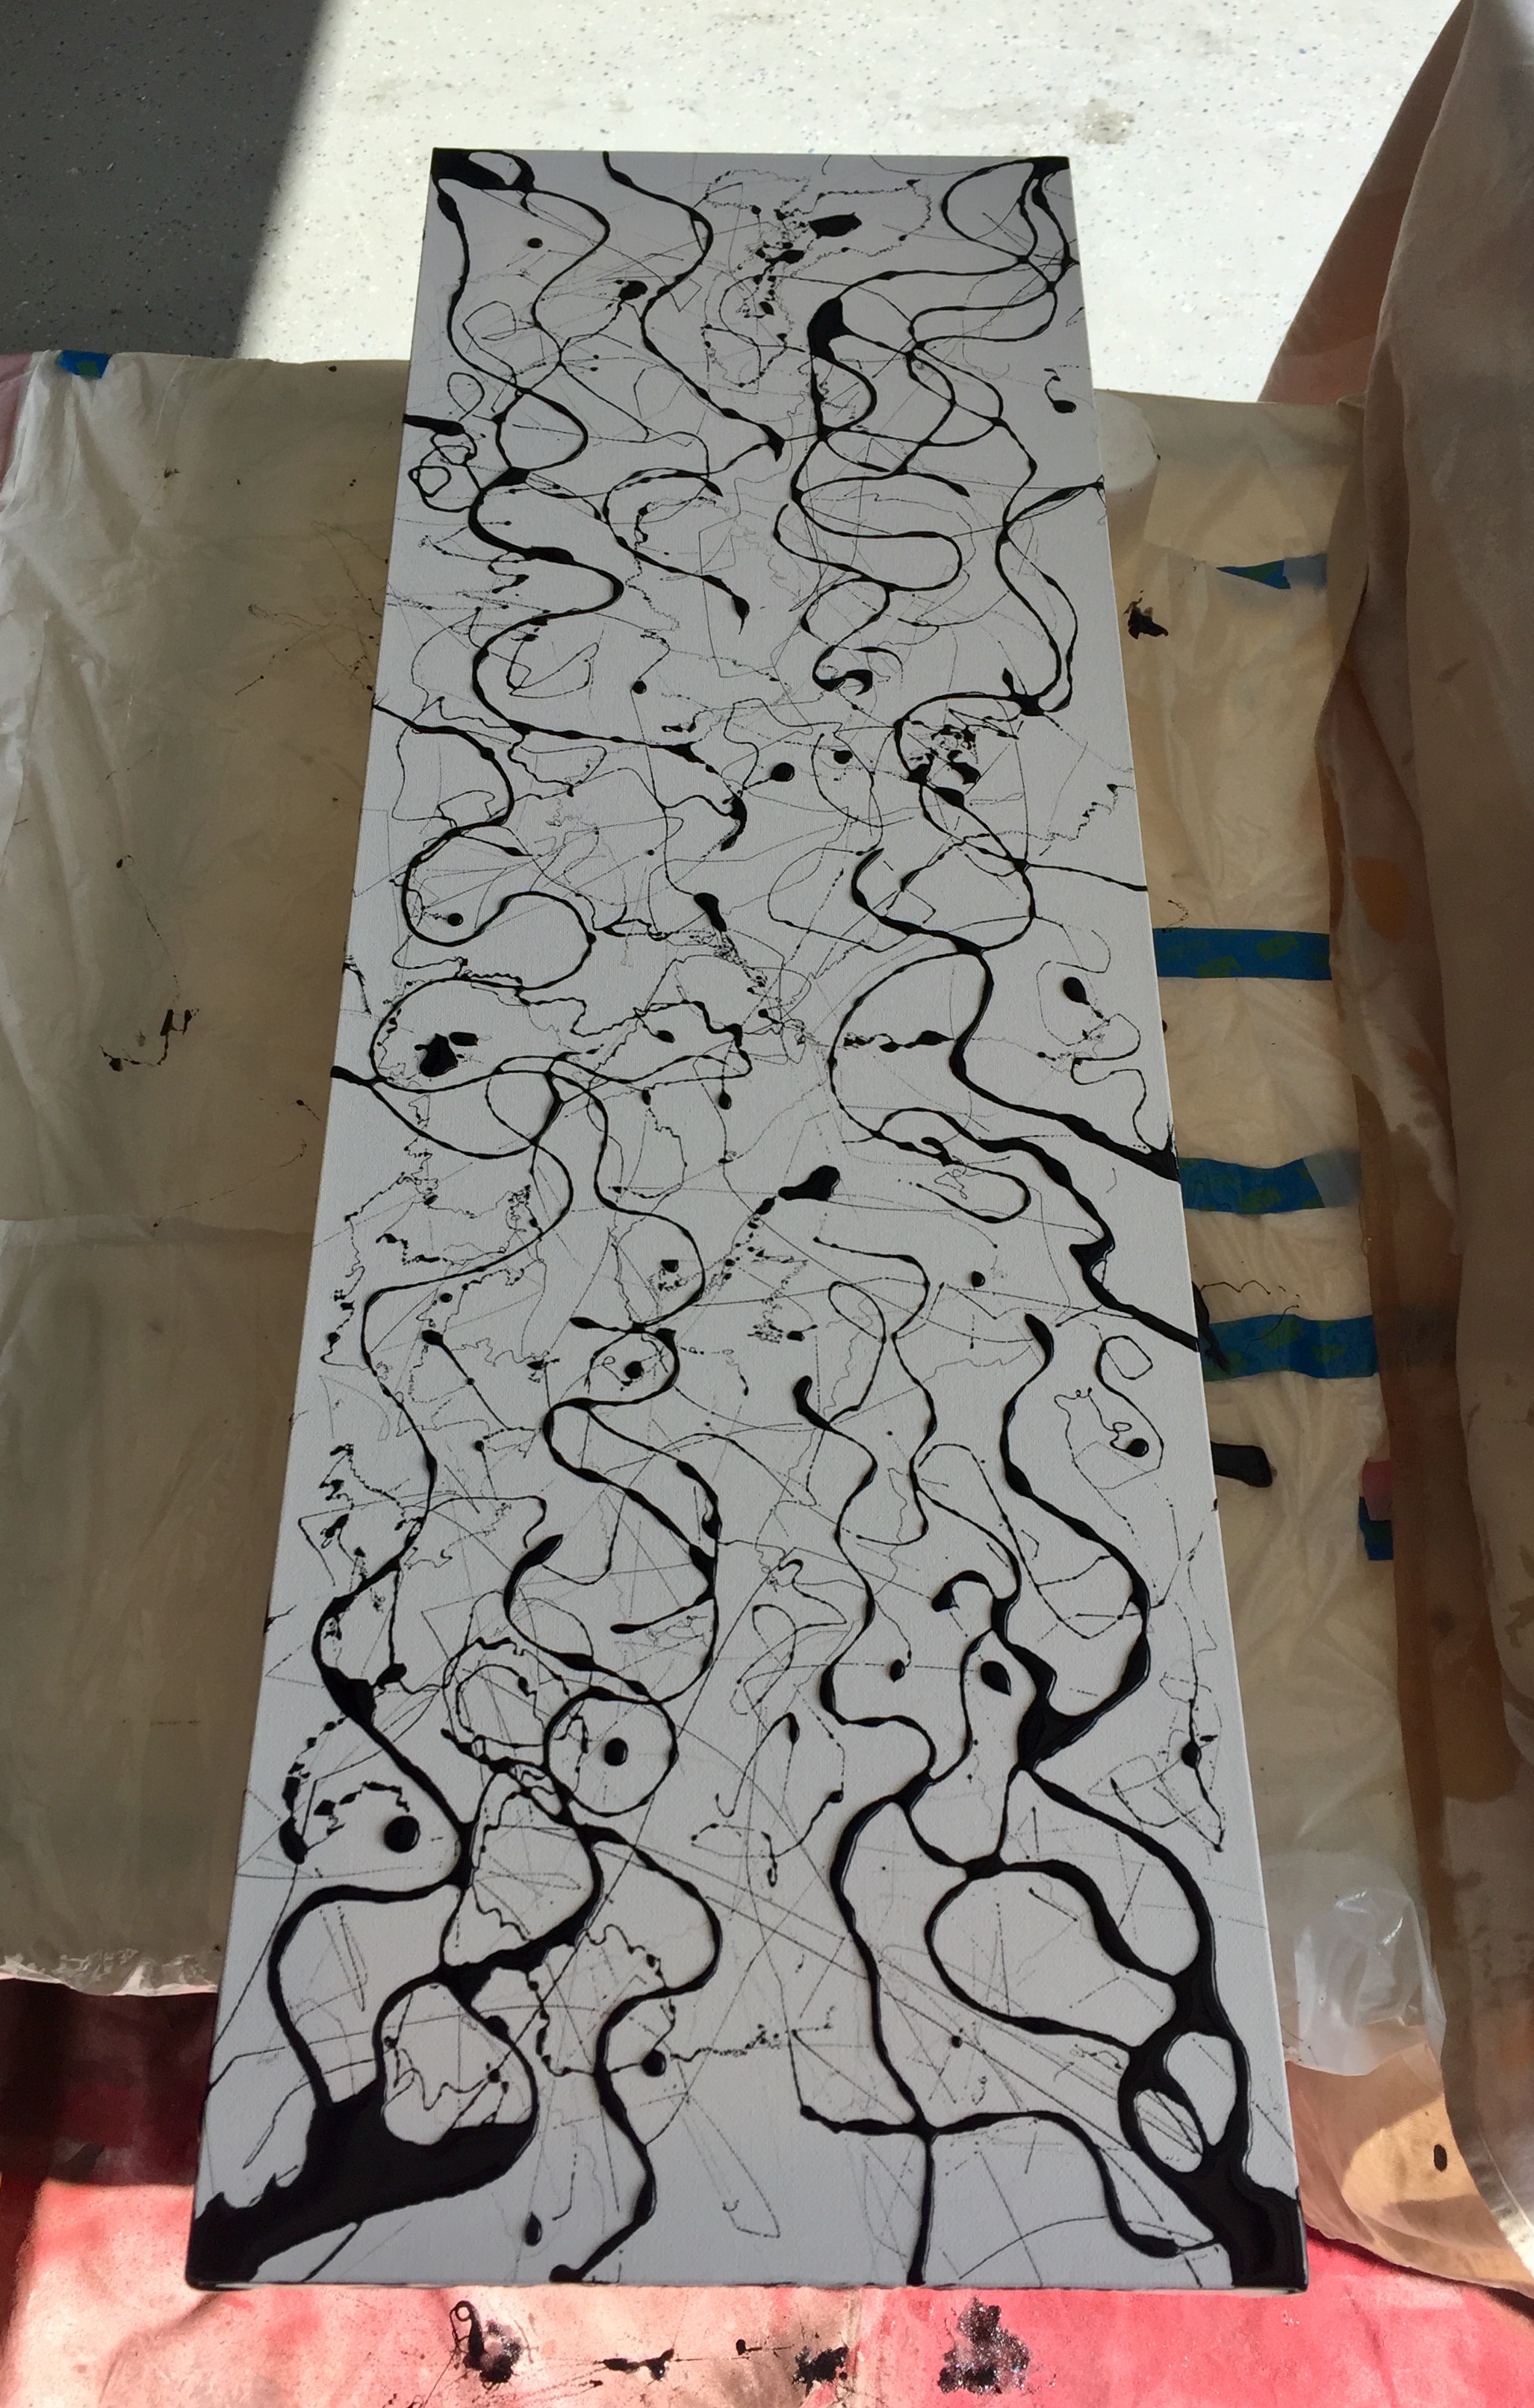
DREAM DOORS & ROSE (CIPHER IMBEDDED) - JACKSONVILLE.

ROSE AND CIPHER CLOSE UP
One piece I gifted, called Fuzzy Flower, was to a coworker at a bar in Miami. This guy made me laugh so hard at the dysfunctional operations of the establishment that I was borderline hysterical. I’ll never forget that night.
A couple of years later, he and his wife had just moved to Idaho and knowing how financially difficult and exhausting a cross country move can be, I mailed them a piece he had been eyeballing about a year before. The piece was sitting in a box and I can across it one day looking for another piece that I was about to sell. Again, I knew what I had to do with that piece. Someone “needed” it, and I was going to gift it to them.

FUZZY FLOWER- RESIDES IN IDAHO

HONEYCOMBS AND VINES (ORLANDO)

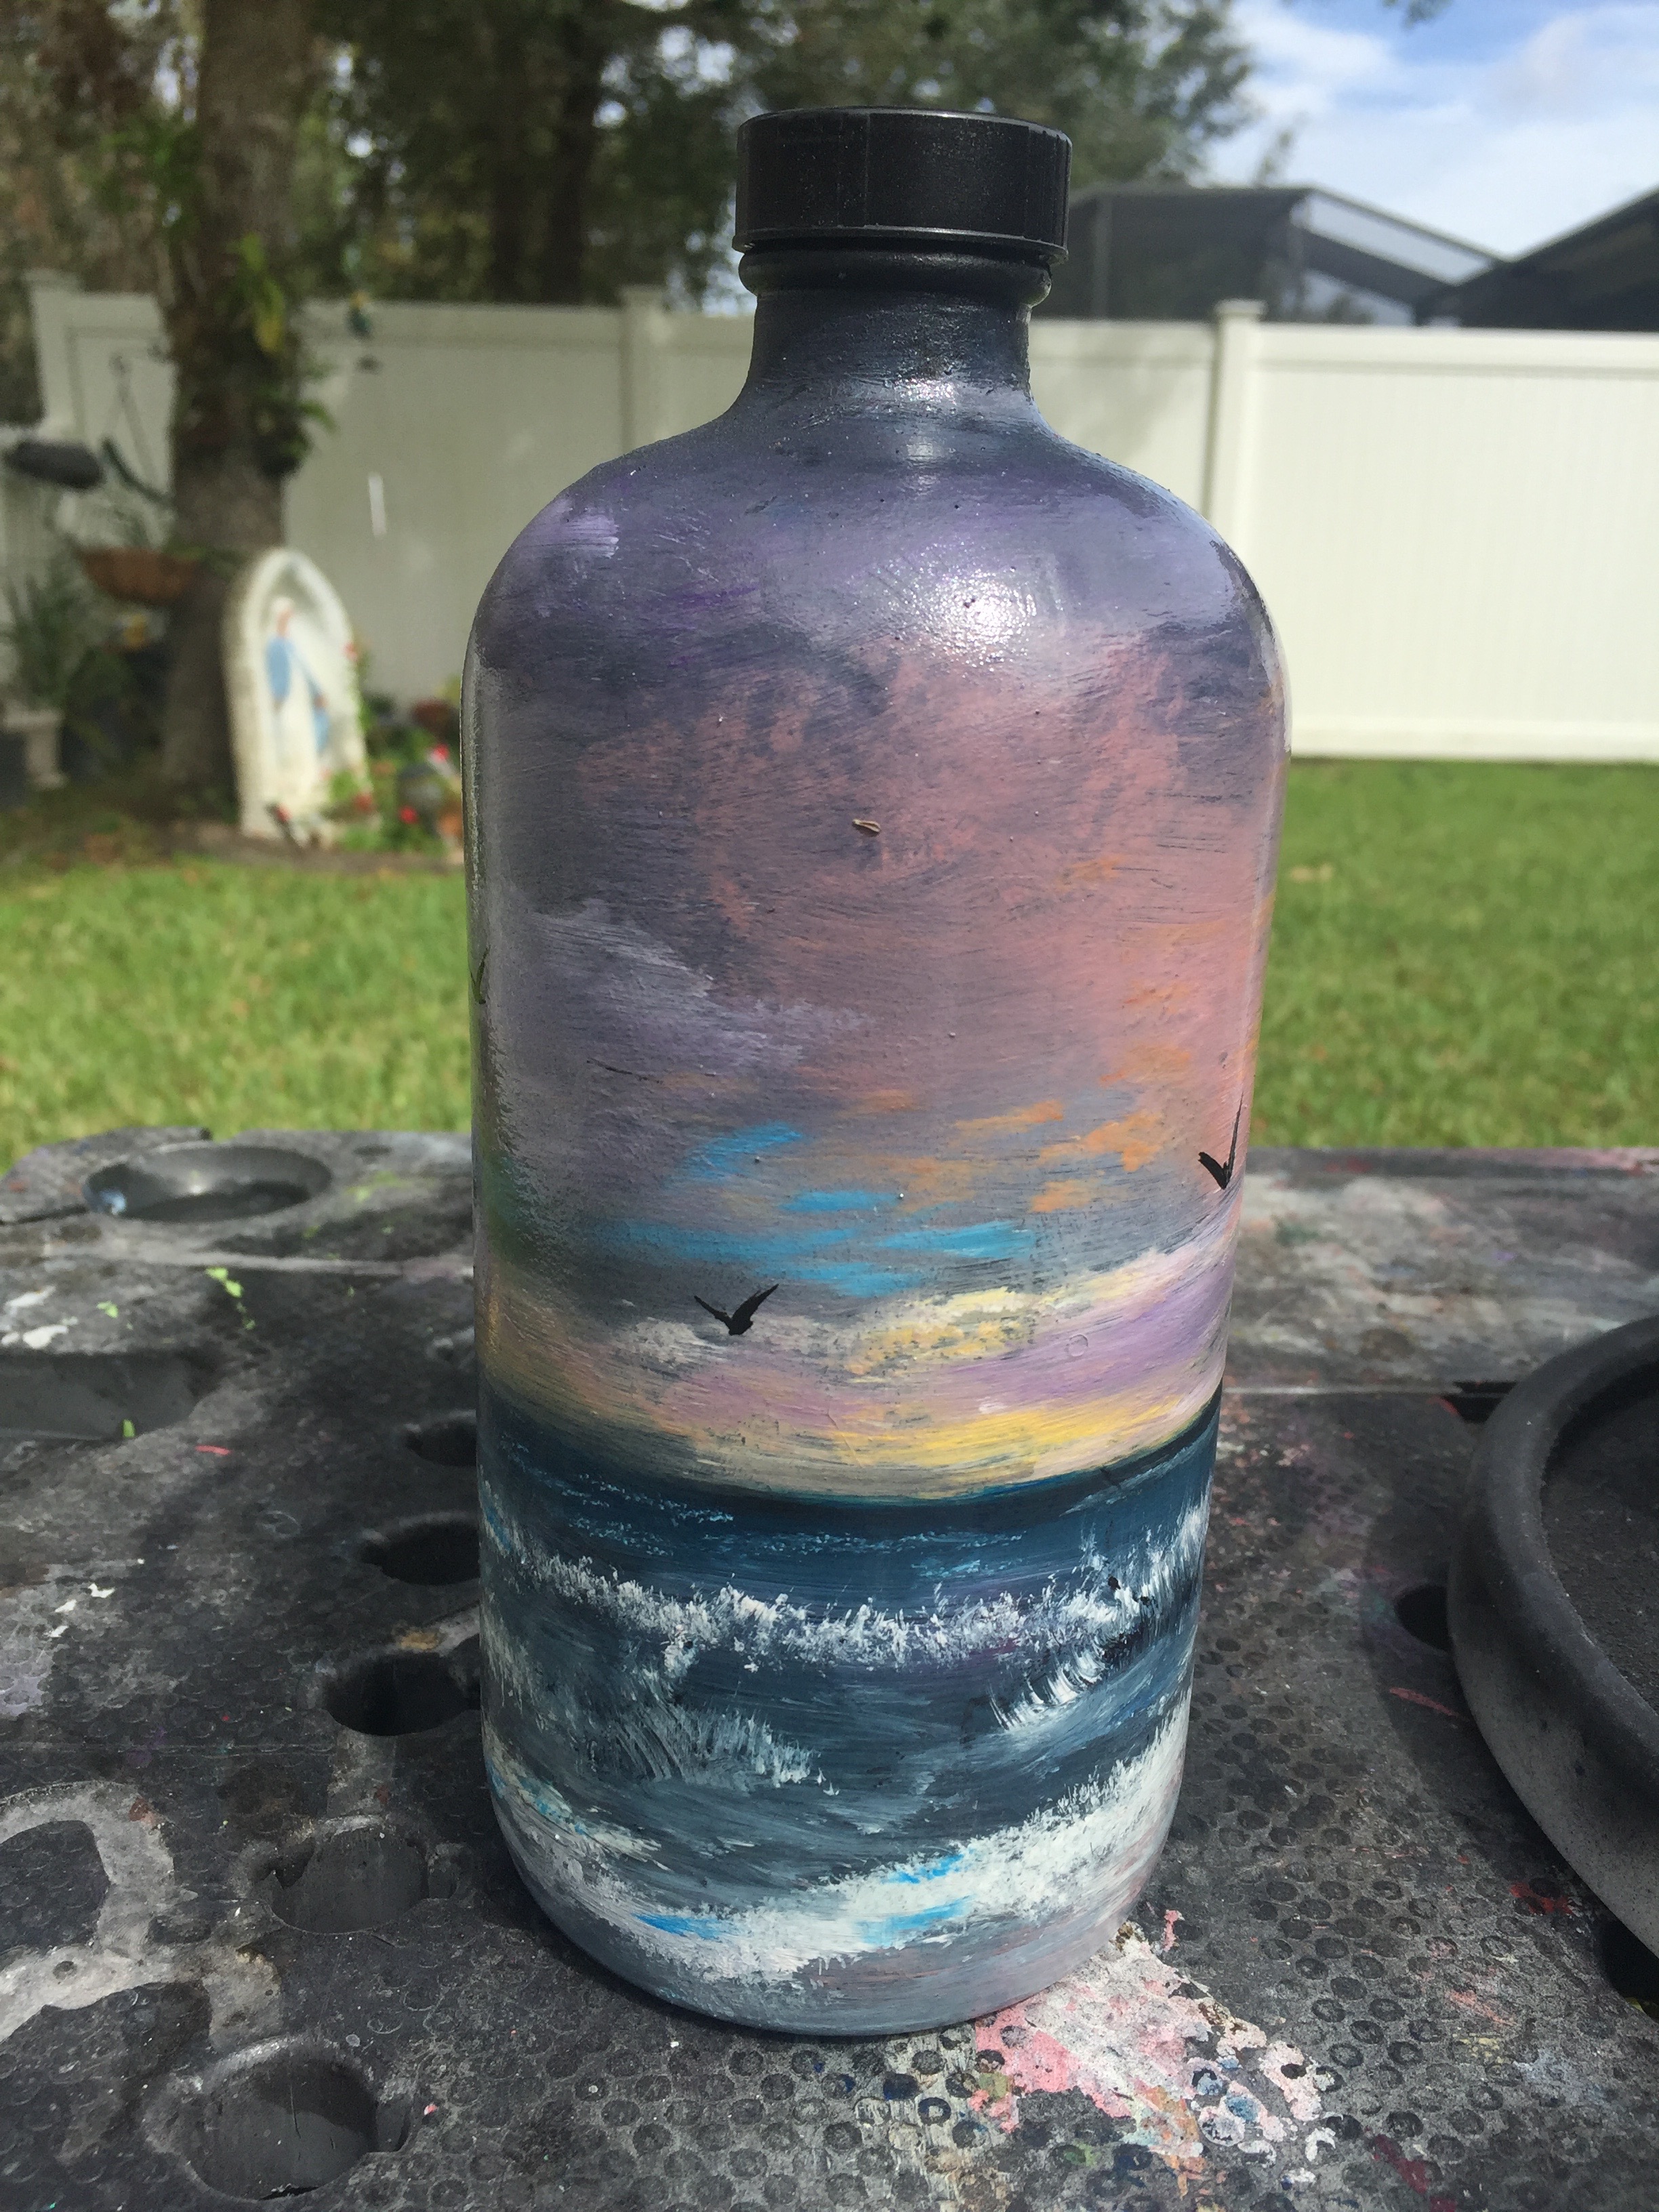
SEASCAPE DREAMSCAPE- Resides in Castle Otttis Vilano Beach (near St. Augustine)
Seascape dreamscape was gifted to the owner of the Castle Otttis in Vilano Beach Florida. He granted me permission to visit the castle and I was very thankful. I waited over 20 years to visit the Castle. Since my first visit, I’ve returned to the Castle a few times and the owner and I have become friends. The Castle Otttis is located about ten minutes North of St. Augustine in Vilano Beach. Castle Ottis is a stone cold stunner and a work of art.

Moondancin 2 - Resides in Hollywood Florida
MD2 was gifted to my friend and his wife. They came up from Miami with their son to visit me one weekend. We had an awesome time at Universal, catching up and riding the coasters. Before they left my friend commented on how much he liked this painting & how my artwork had progressed. I thanked them for the visit and before they got in their car, I surprised them with Moondancin’ 2. I guess you can say I like the element of surprise.

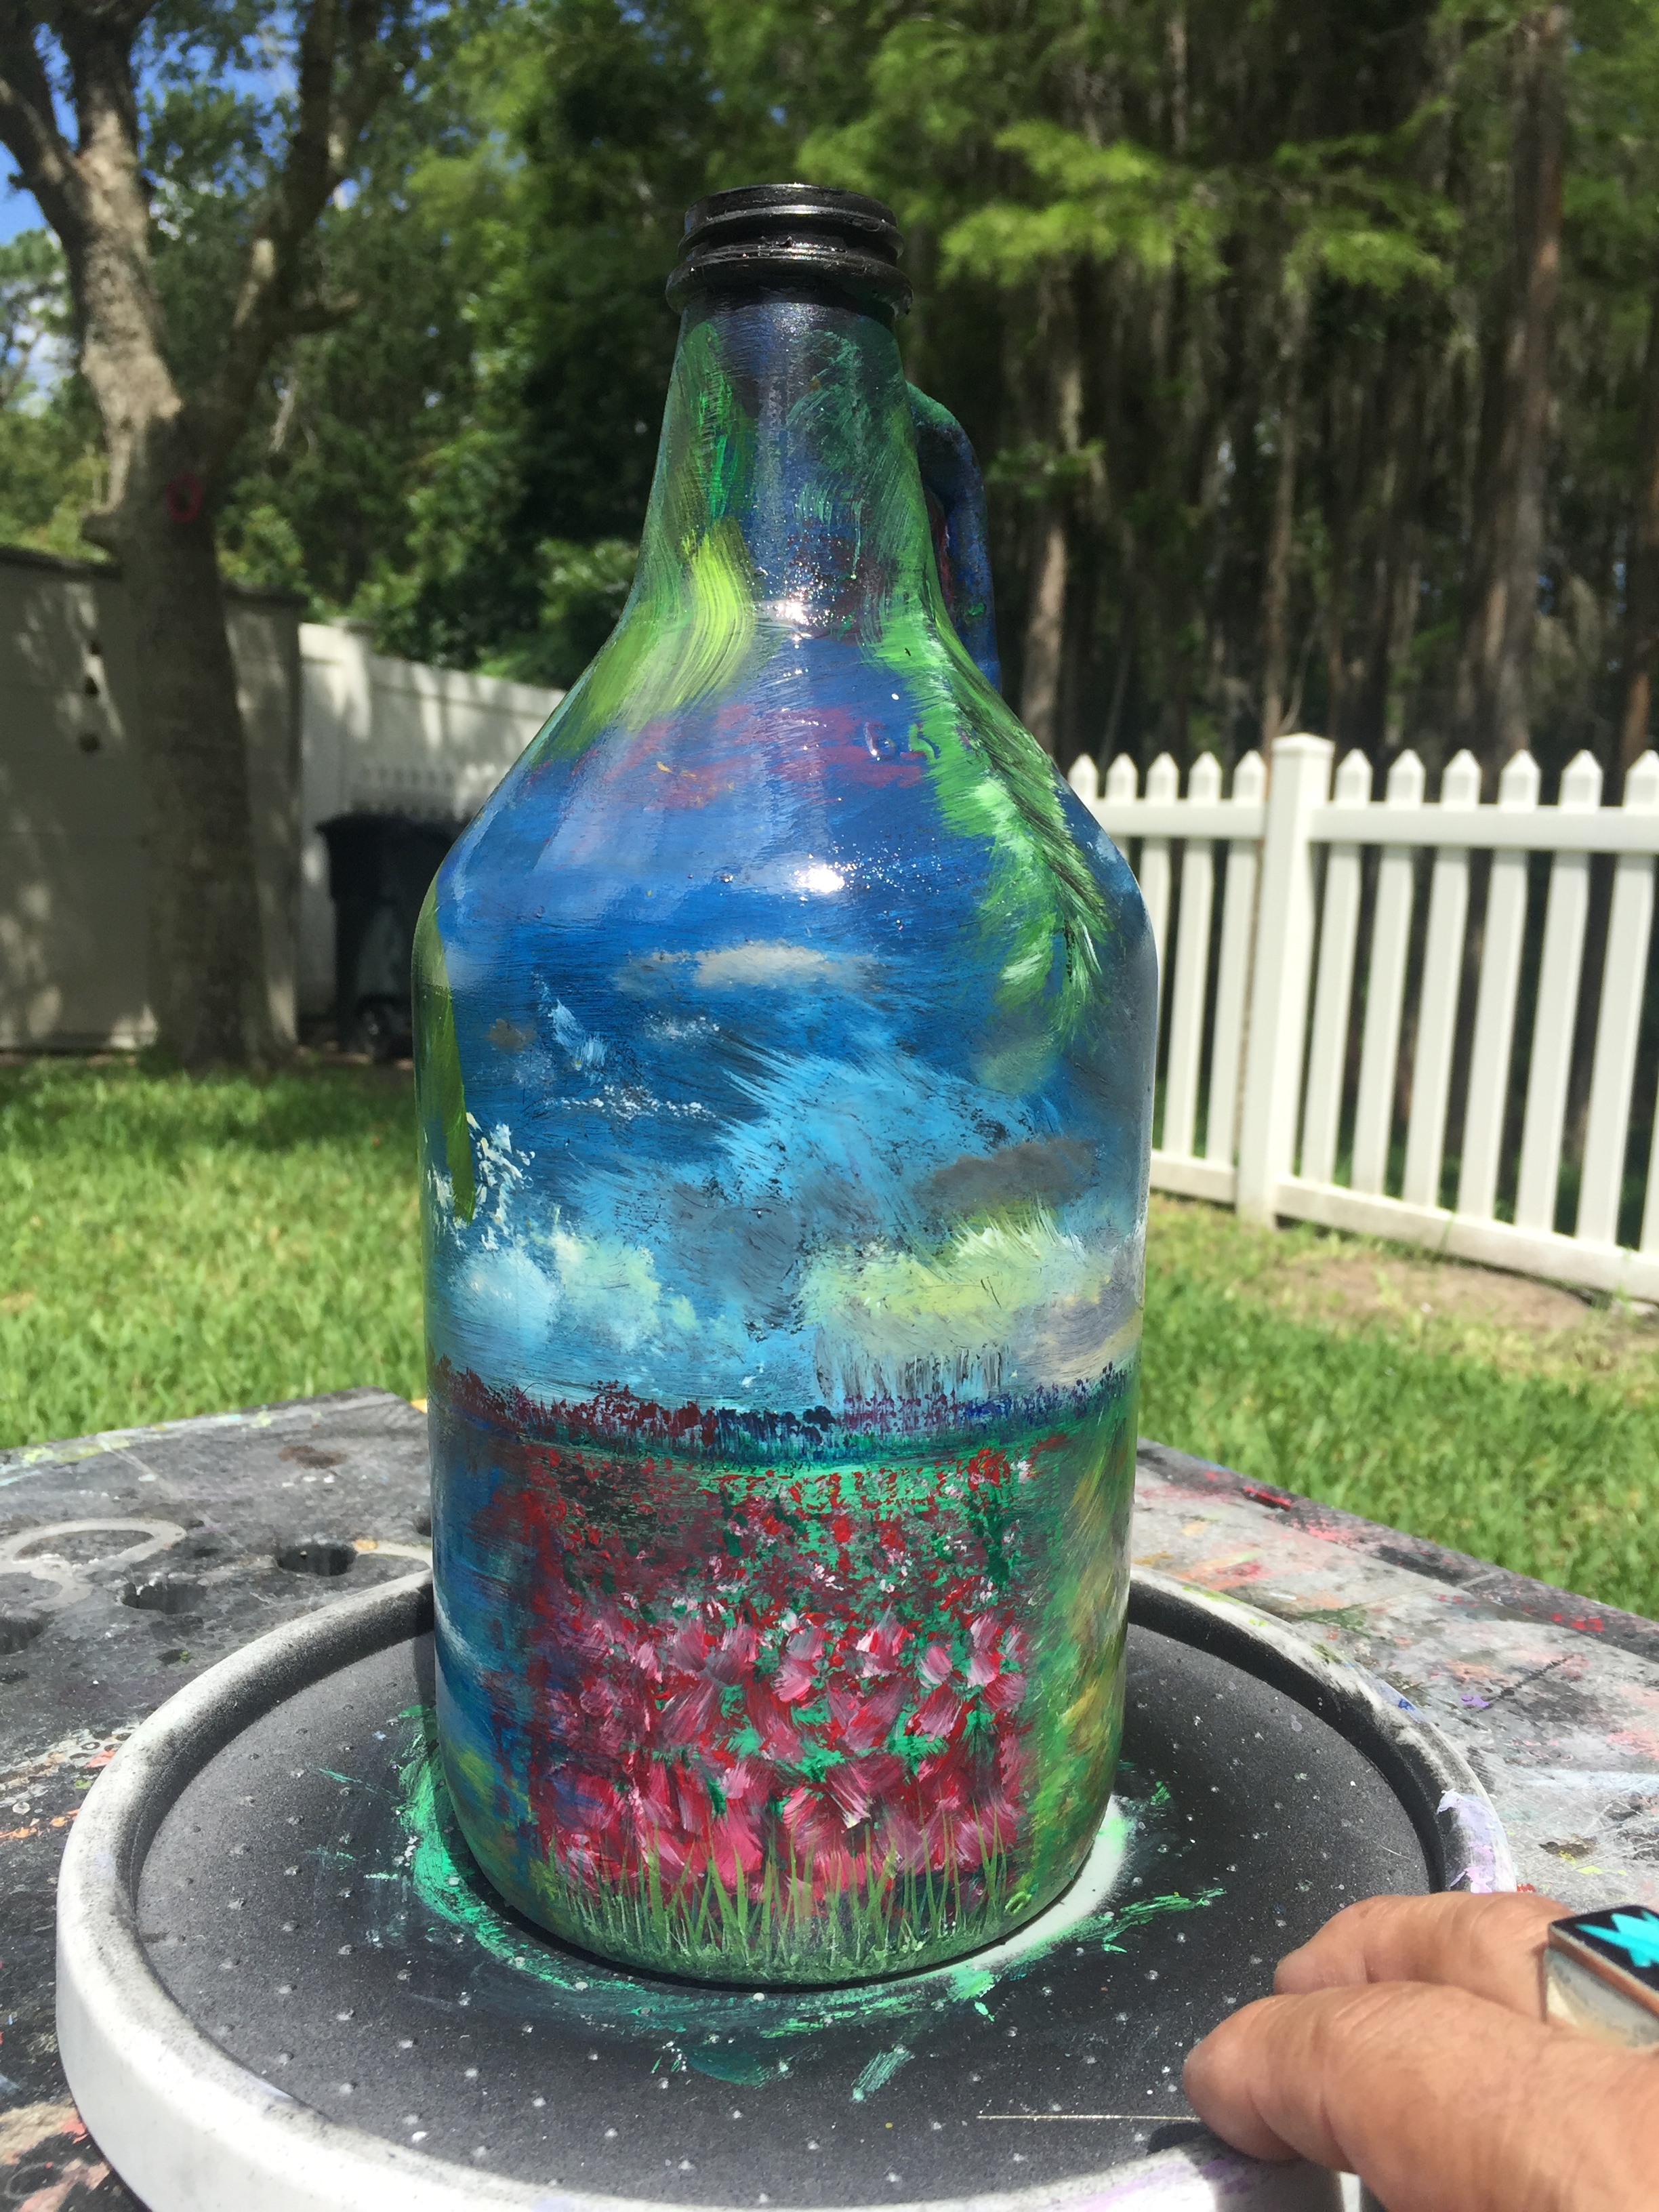
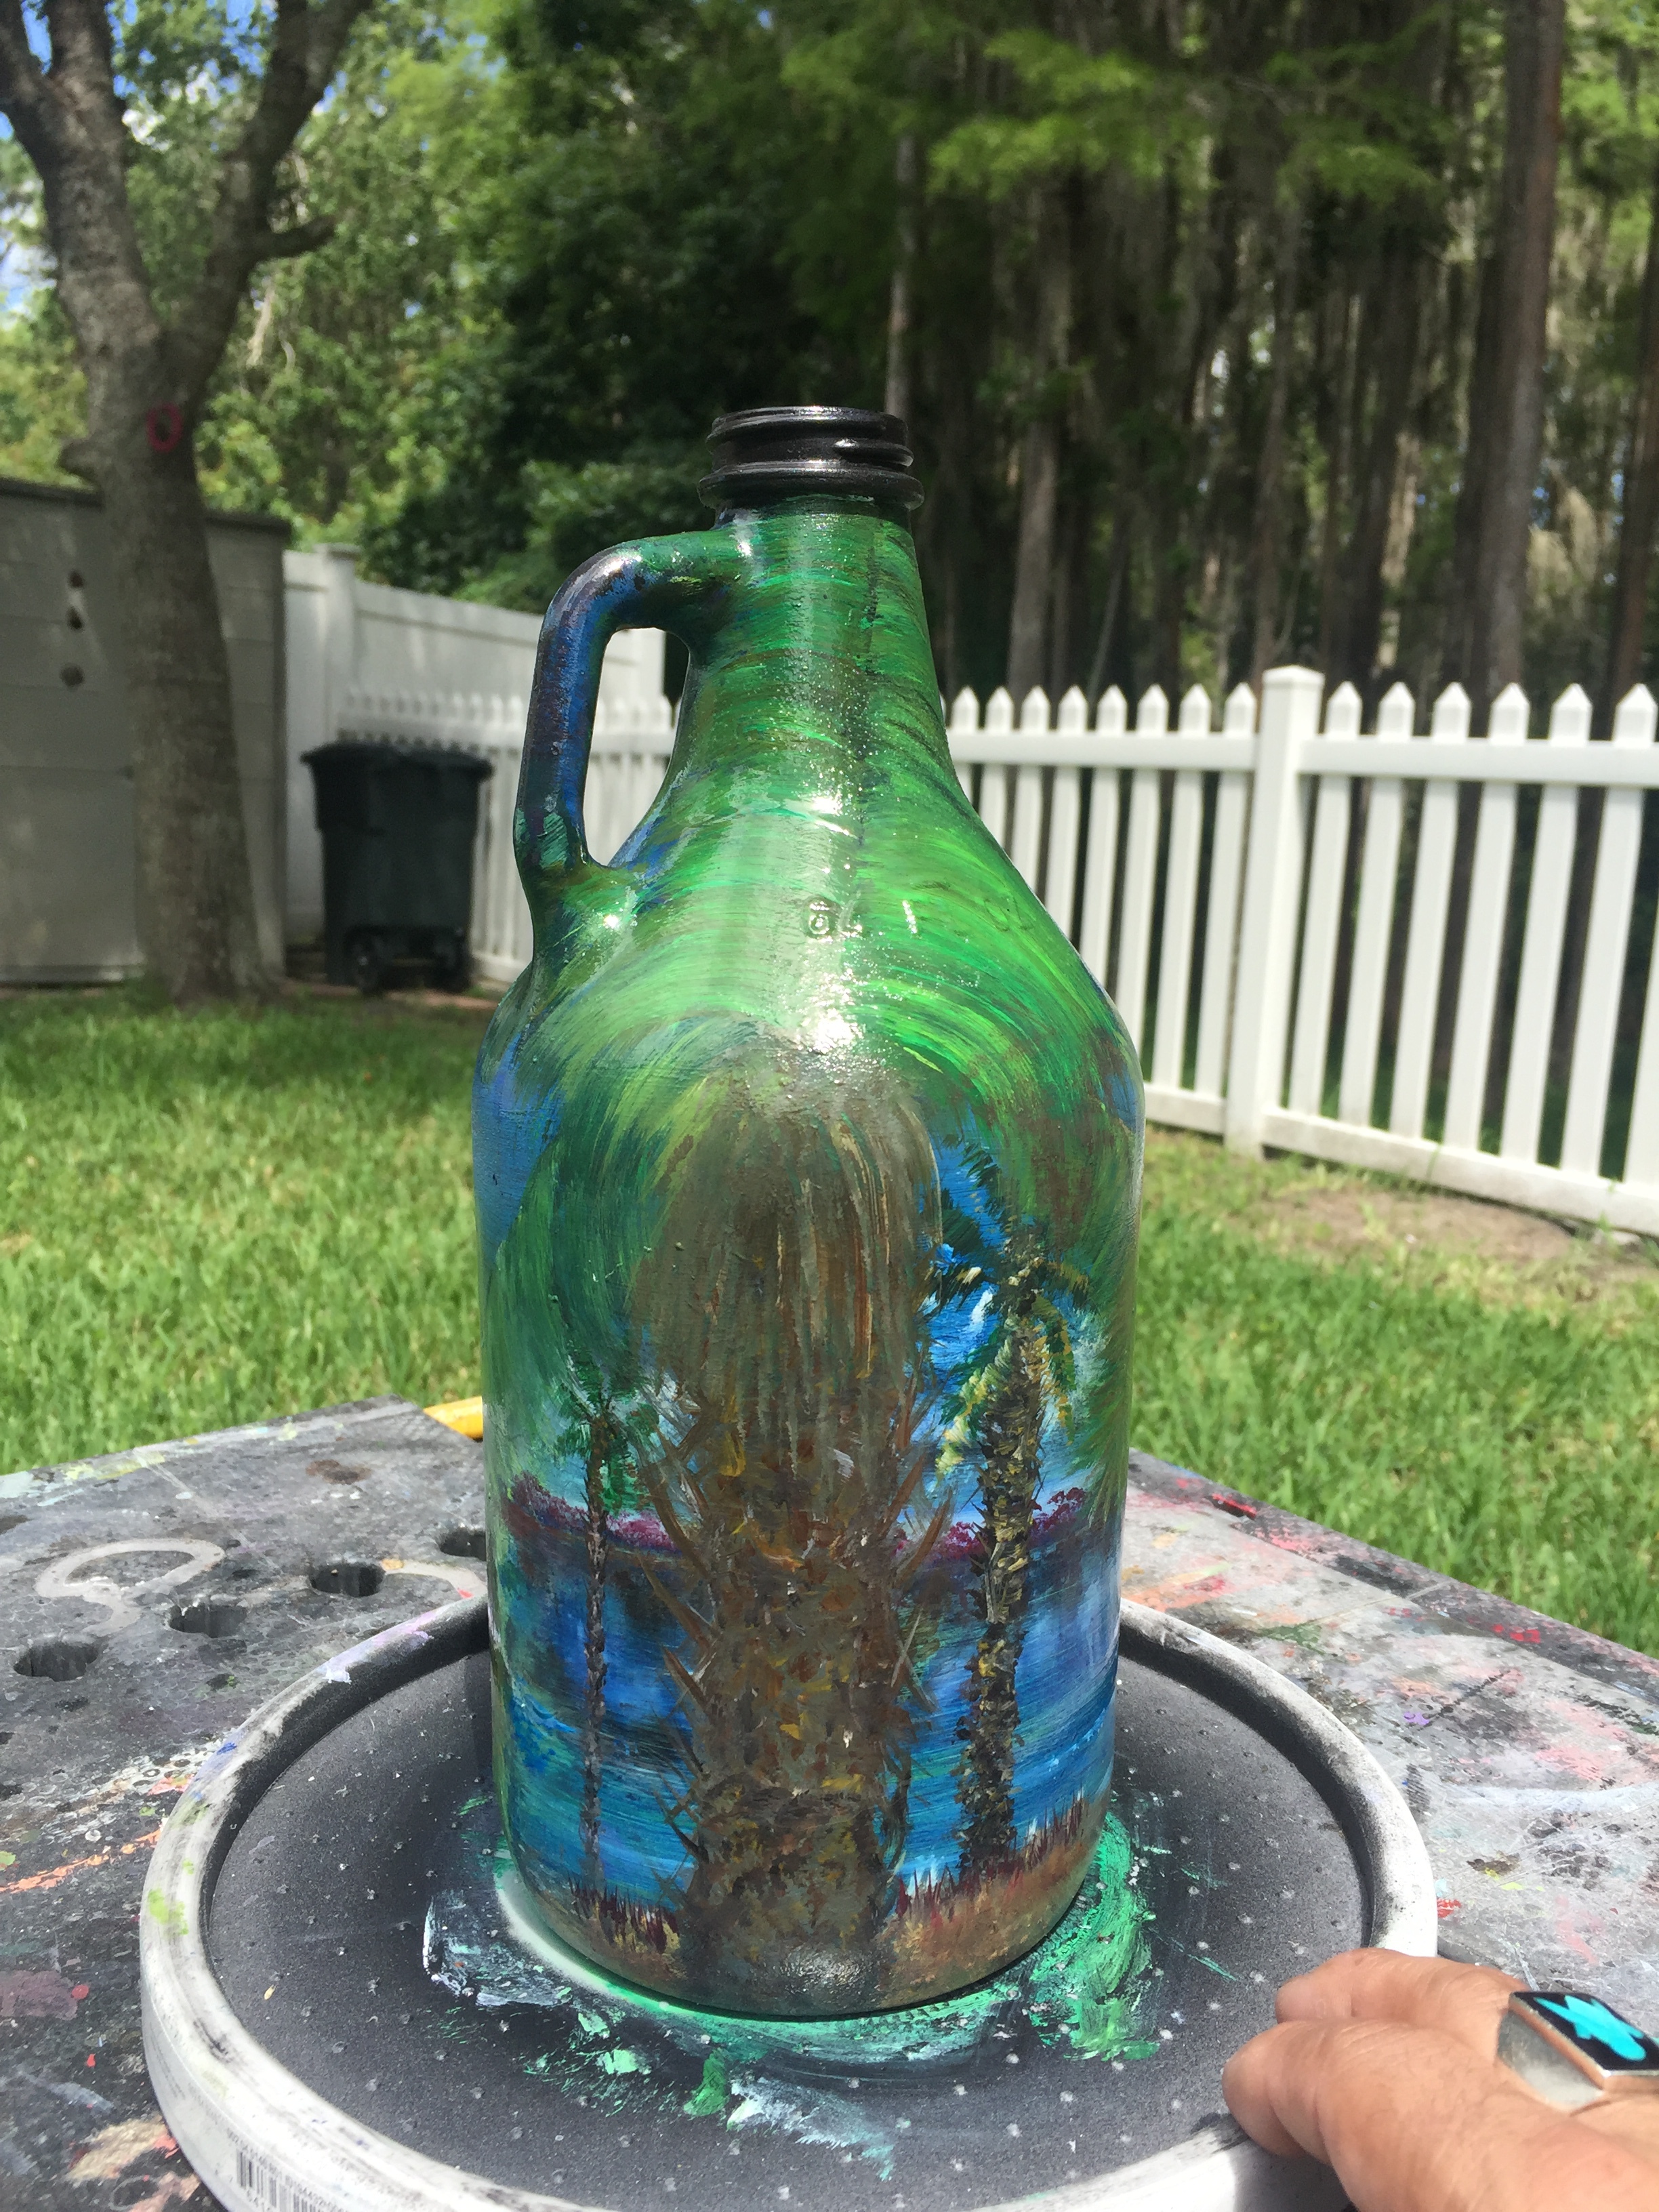
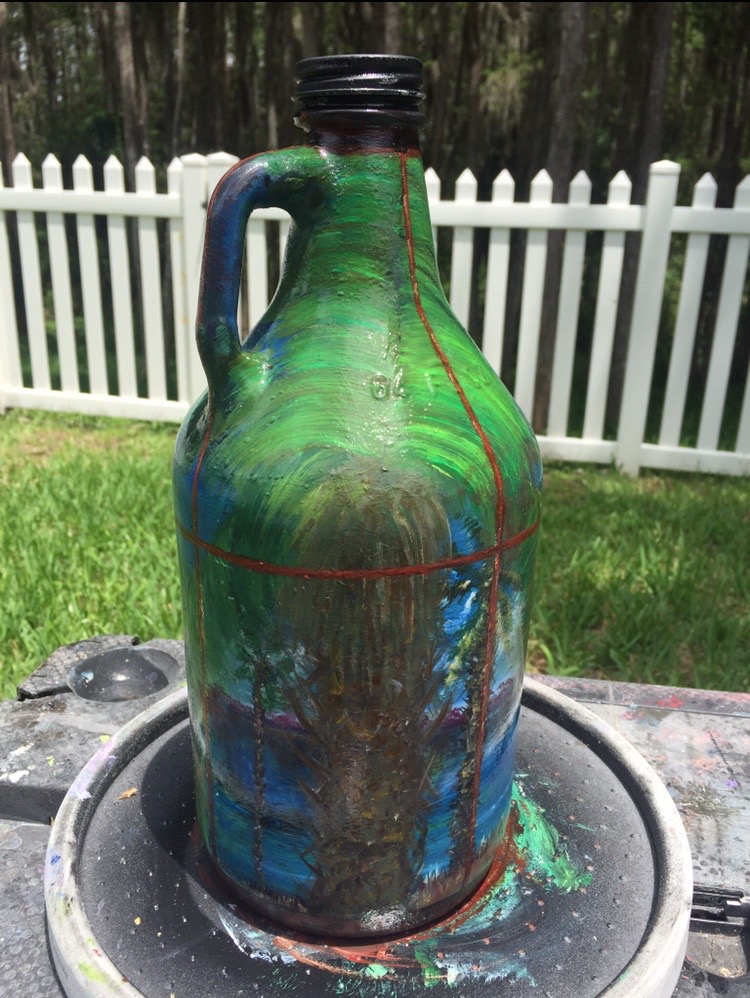
GROWLER PRJECT- Brewz N Dawgz restaurant (St Augustine)

TRES PALMAS Y TORMENTA (3 PALMS & A STORM) ORLANDO
Tres Palmas was gifted to a checkout girl at Publix during the holidays in early December 2018. As I was checking out, we realized we both shared a mutual unenthusiastic feeling for the “holiday season”. Although, I was a bit concerned that someone so young was so disinterested and unhappy during the holidays. It kind of bothered me. Possibly because I had recently found out that someone I had crossed paths with a few years ago, had taken her life. Reading about it had really left an impact on me. We had a lot of talents in common.
I guess that’s why when I saw the lack of Christmas joy in this young girl’s face, I was compelled to do something about it. I felt like she needed some holiday cheer and uplifting, so I gifted this one to her. Giving this one away during the holidays helped put me more into the Christmas spirit.

Tulips for Mary - Resides in Hallandale Beach, Florida
My great great friend Mary lives in South Florida and she has made a huge impact on my life. She’s Irish and my original idea was to paint her an abstract Shamrock for her birthday. Luckily, I found out from a friend that she loves, loves, loves tulips. I did manage to fit in that abstract Shamrock though. Can you find the Shamrock? Slainté.
TIPS ON GIFTING OR DONATING A PIECE OF ART
DON’T EXPECT ANYTHING IN RETURN
This includes recognition, a thank you card, or any sort of gratitude. Some people just don’t know how to react when you give them a piece of art. It could be awkward or maybe they just didn’t like it lol. Don’t expect them to jump up and down either.
DON’T EXPECT THEM TO HANG IT UP CENTERSTAGE IN THEIR LIVING/DINING ROOM
Once you’ve given it away, you’ll probably never know where it will end up. Try not to be upset if you find out your masterpiece ends up in the guest bathroom or on their floor. It’s theirs now. They can do whatever they want with it.
DON’T GIVE AWAY A PIECE YOU CAN’T PART WITH
Enough said.
SIGNING
Make sure you sign the back if you have time. I try to include some sort of thank you, or gratitude statement.
DONATING
Donating a piece of art to your local community for fundraisers or benefits is a great way to get your name out there. Make sure you give them a short backstory on the piece and your social media info. The story behind a painting is just as important as the artwork itself. If they have a social media exposure, try to work out an angle where they promote the piece of art that you donated.
I have a future blog I’m putting together about a piece I donated for the Cocoa Beach Surfside Playhouse. It’s for their annual fundraiser. We’ll dive into philanthropy projects on that blog and the story behind CANTO VII …

CANTO VII (MIXED MEDIA ON CANVAS) 3’ X 4’ -acrylic, sand, sea shells, tree twigs, spray paint, and glitter.
Until next time my friends, you know what to do:
STAY CREATIVE & KEEP PAINTING!
DEUCES, C.A.M.