Happy Holidays. Hope everyone out there is having a great Winter. I'm slowly getting back into my painting groove. I started by making a couple of frames for some pieces to wet my whistle.
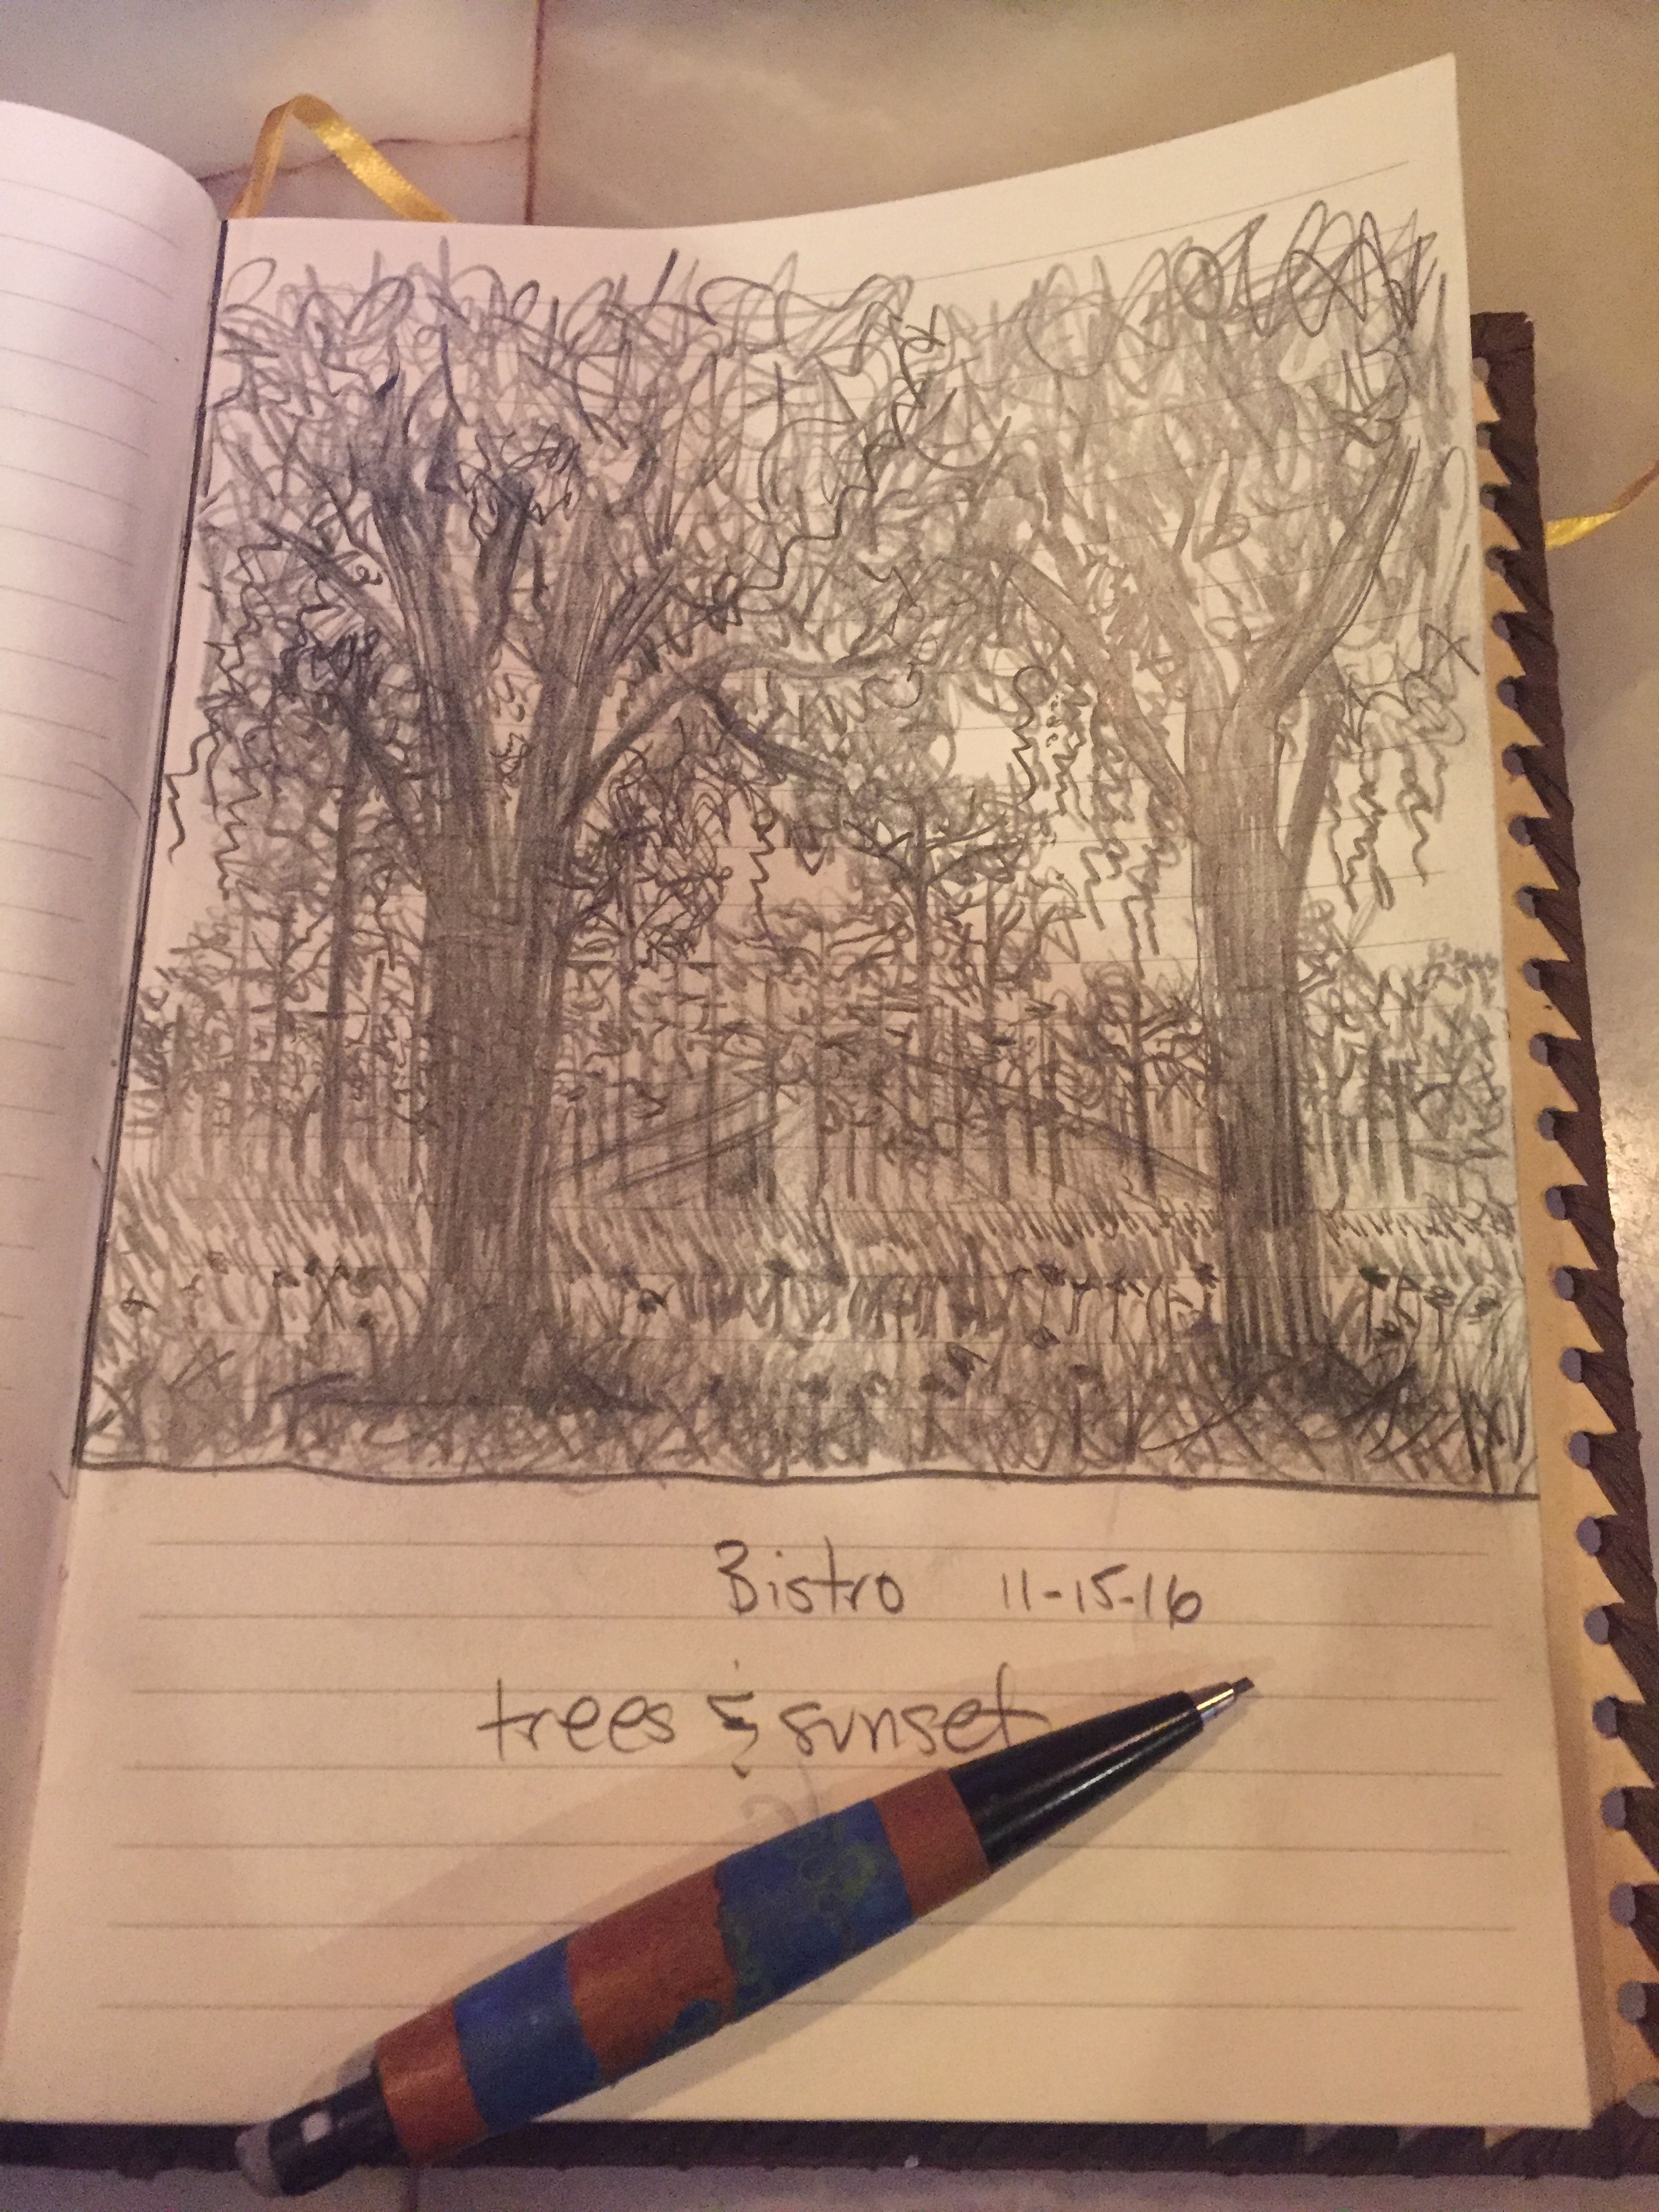
Then, I did some random sketching while out at bars/coffee shops. I find that sketching gets my desire to paint going again.
Third and most importantly, I did some painting exercises to get my mechanics and techniques back. In my opinion, painting exercises provide a way to "paint" without any expectations. It's great to splatter some paint on a canvas and just let the brushes go nuts. When you don't set out to paint your greatest masterpiece, how can you go wrong?
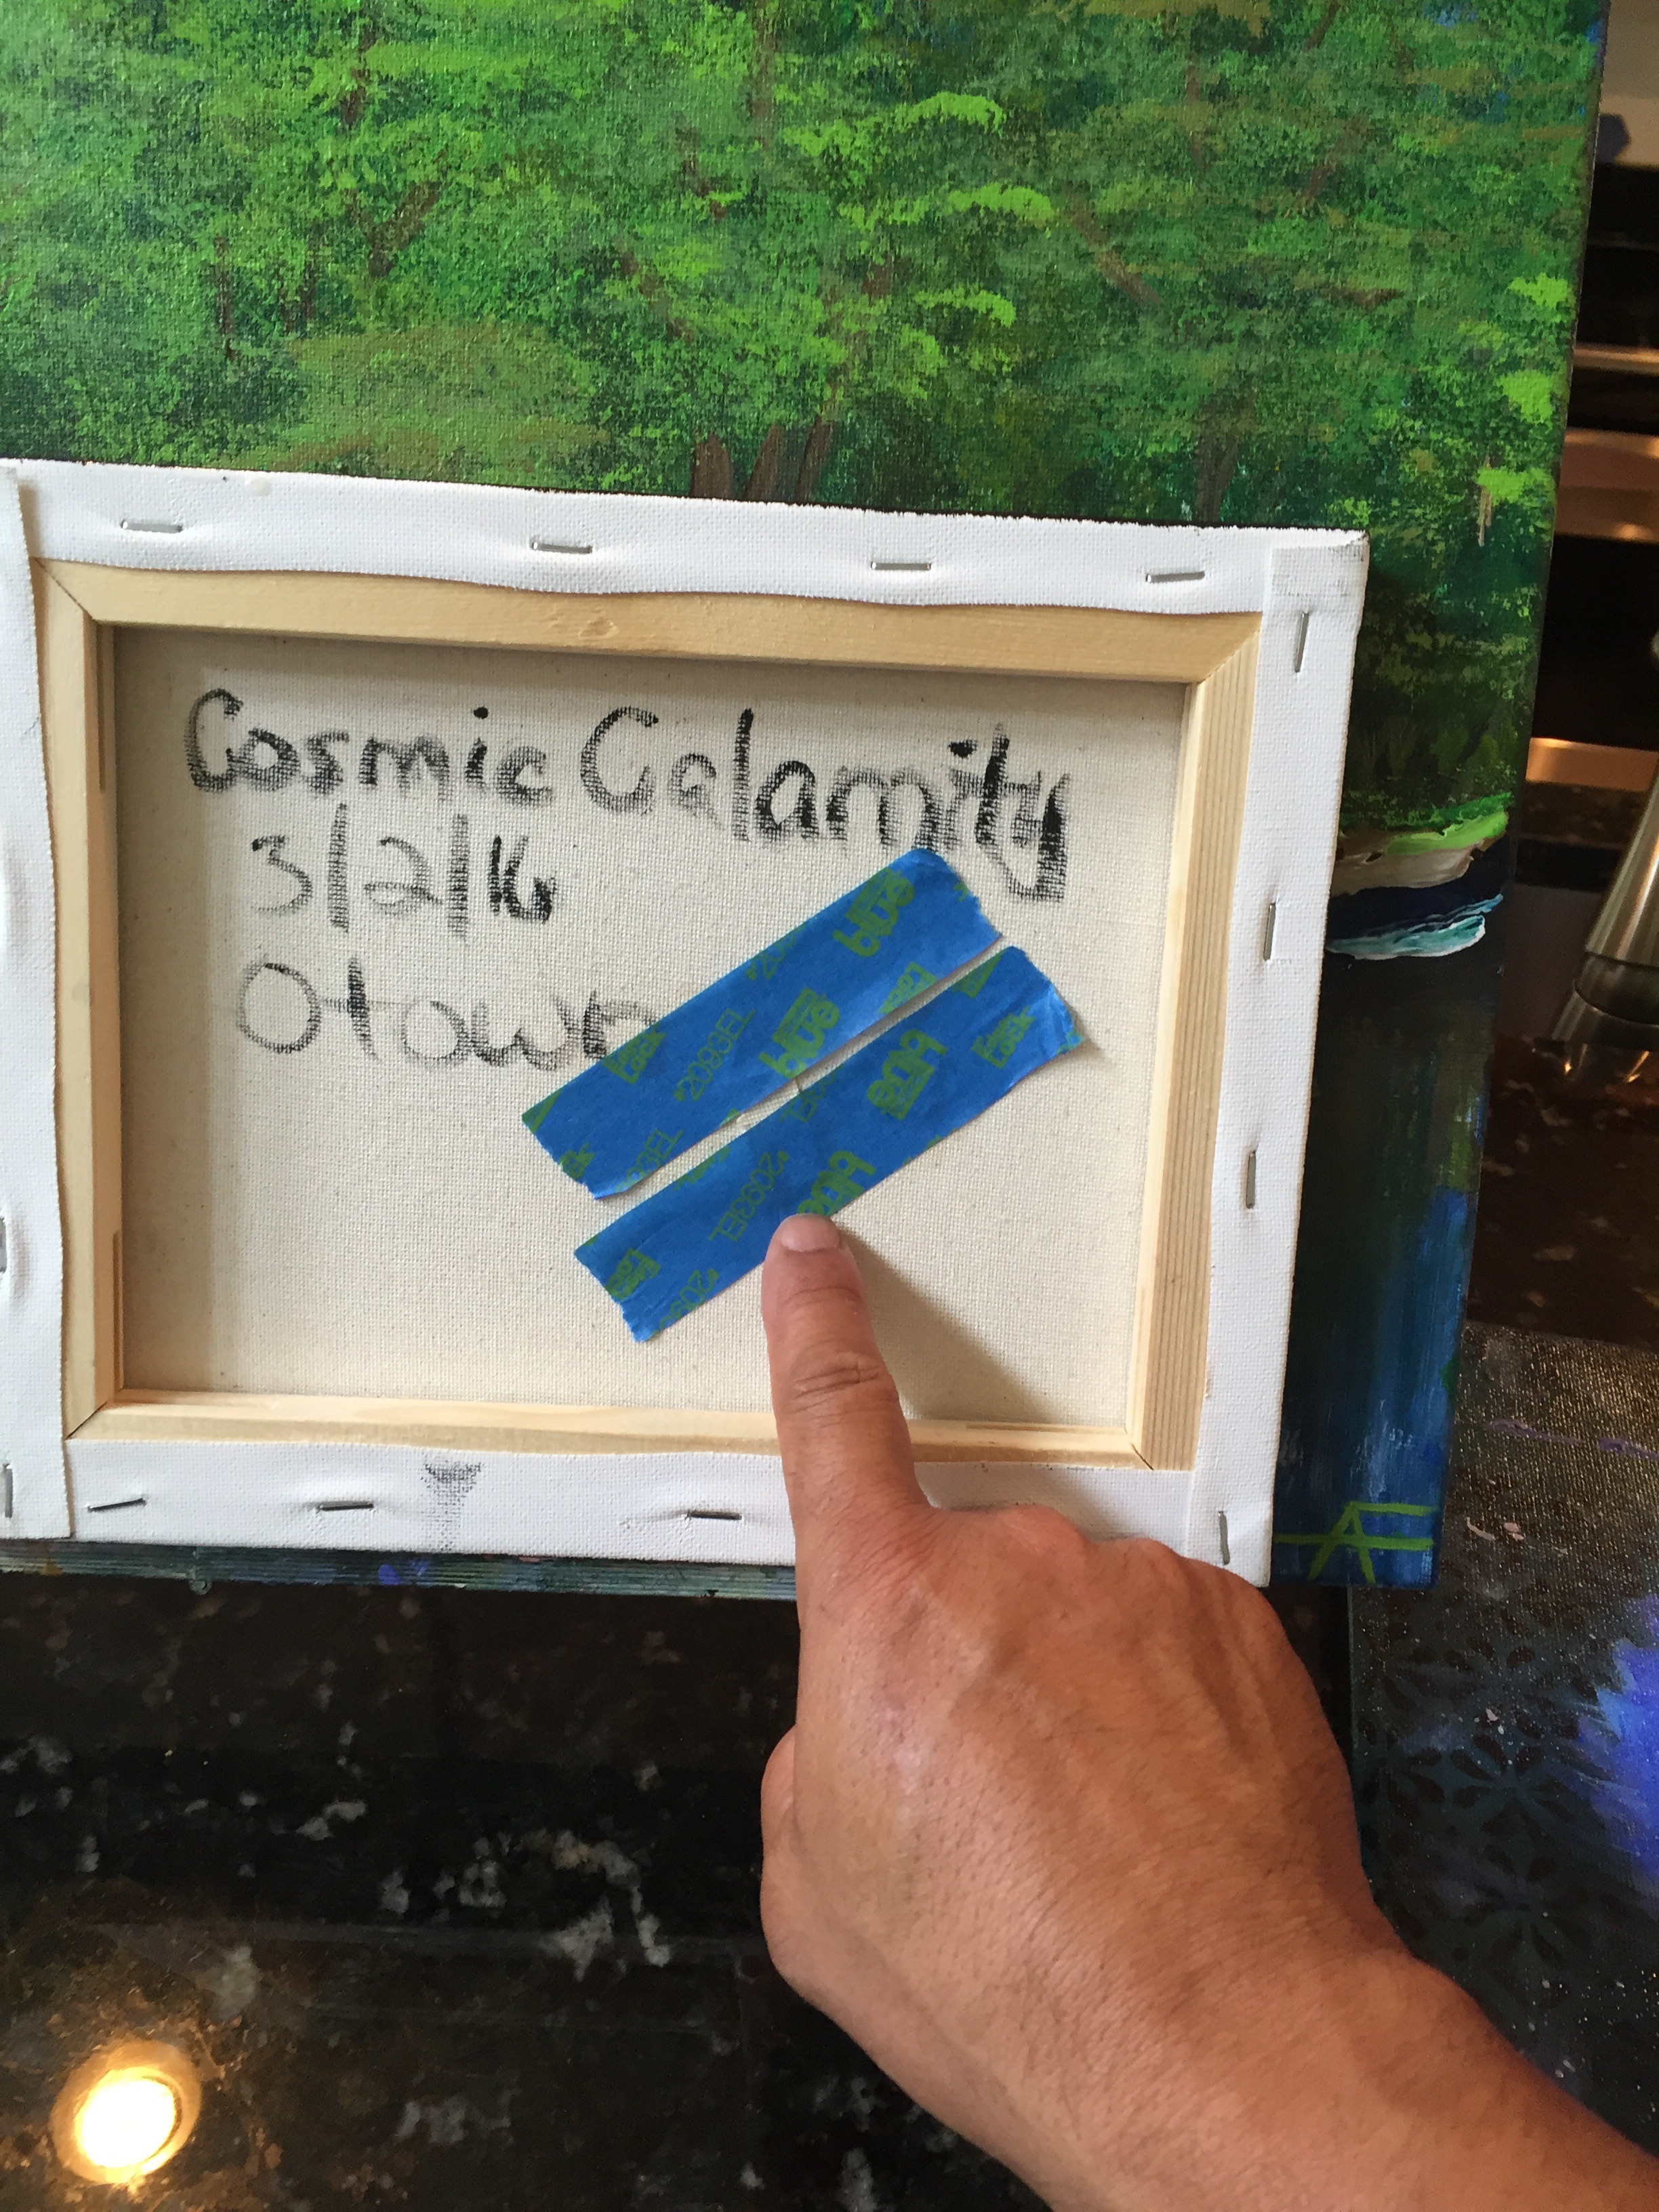
It really is amazing what a frame does to your artwork. I bought some 1 1/4" pine trim at Home Depot and stained it with different stain combos. The one on the right has a purple dye, tint job. It's actually a concentrated "bordeaux" tint, and the company is called TransTint. They are out of Cleveland, Ohio. They have many colors of tints. It's not cheap though. The upside is you will have some awesome and uniquely colored frames, that practically no one for hundreds of miles will have.
It's a really cool dye to work with, you just add a few drops of water and you are good to go.
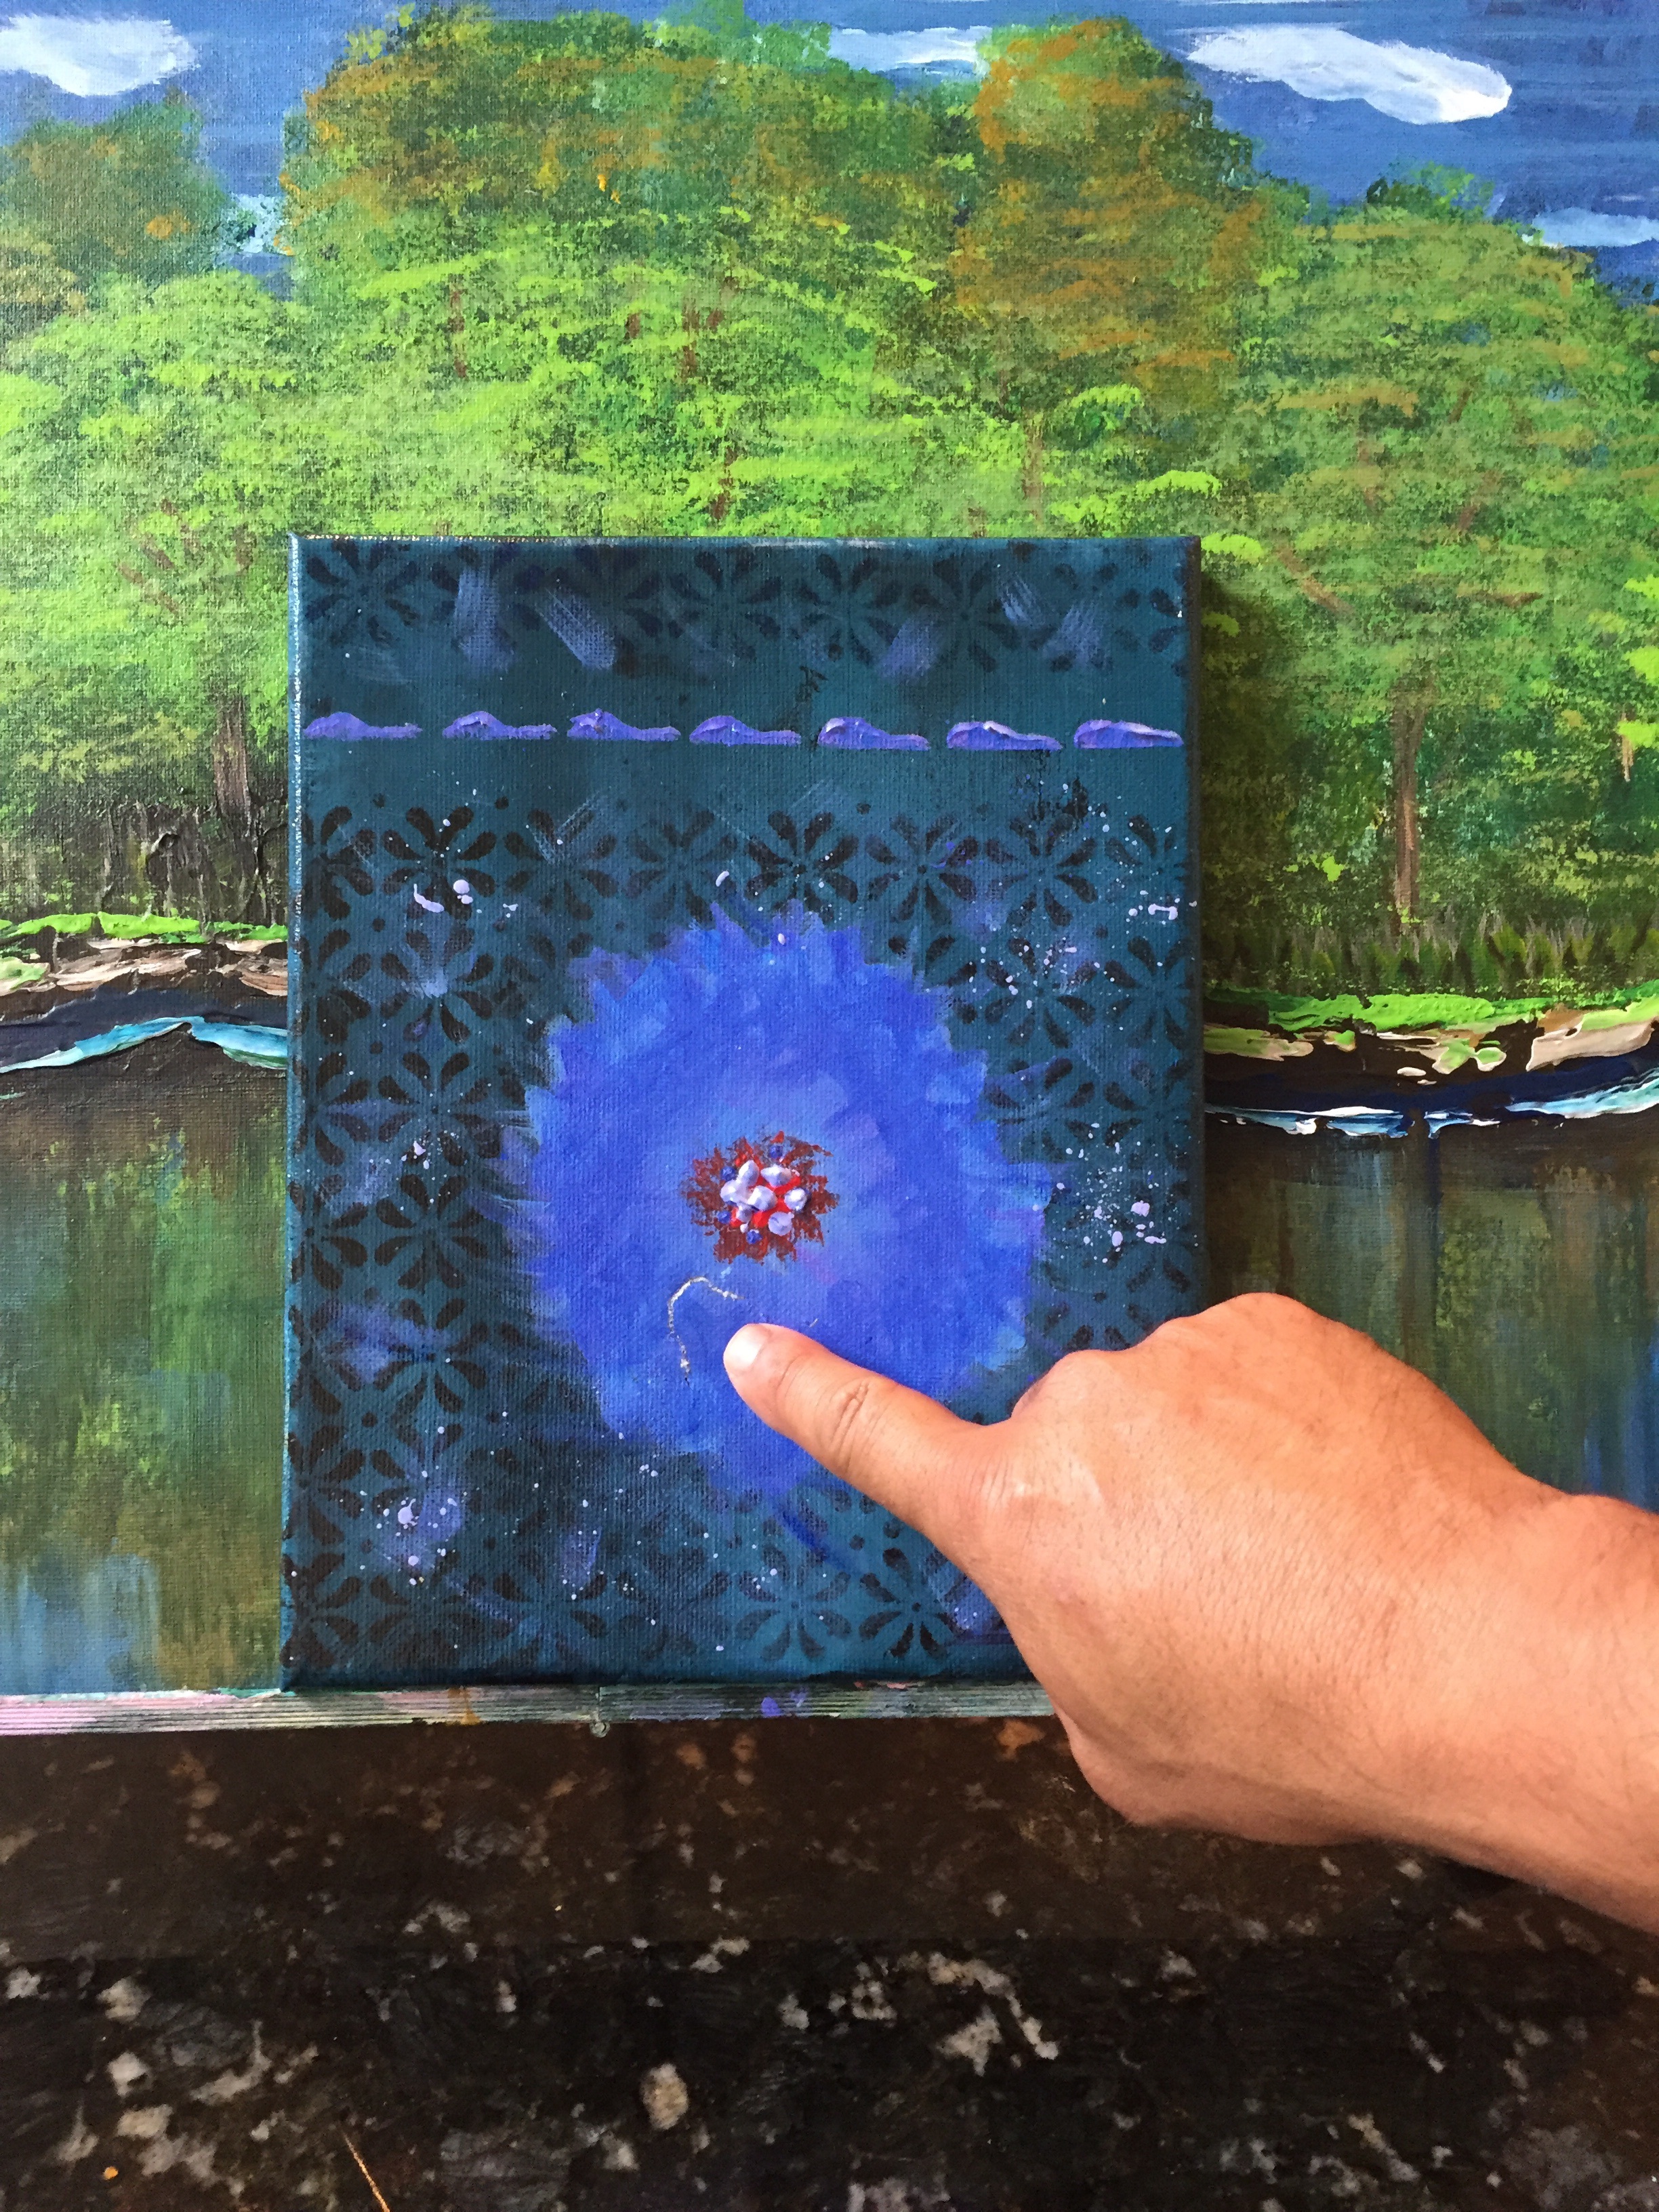
Purple Flower Abstract in custom strained frame.
Tres Palmas Y Tormenta (Hollywood Beach, Florida) in custom strained frame.
An experiment in Black, White, and Red. This next piece started off as a painting exercise, using a limited palette. When it started to turn into a painting, I listened to that inner voice and kept going. That's the same voice we have to learn to listen to when it says STOP, or TAKE A BREAK...GO CHANGE YOUR WATER BUCKET & STEP AWAY...
I did paint this piece on a practice canvas. If you look closely, you can see some green on the right side edge, in the middle.
I used the knife technique for the water lines/edges as well as the rocks. I really enjoy using the knife. It gives the painting a 3d layer of texture that almost brings it to "life". I find that practicing with a limited palette is a great way to put you into a super creative state. It kind of forces you to find as many different values as you can with the limited color palette. It's kind of a discipline exercise as well. You will find yourself wanting to use more colors...Don't do it... stick with the exercise.
An experiment/exercise with different values of ONLY RED, BLACK & WHITE.
My intention with this next sunset piece was to learn how to manipulate acrylic paints to appear more like oil paints. I used a retarder medium from Liquitex, as well as Bob Ross's Liquid Clear to slow down the drying time. The Liquid Clear was my missing ingredient. Liquid Clear slows the drying time significantly and allows for maximum blending opportunities.
***The LQ will have an adverse effect on the acrylic. It will "crack" the acrylic and give your painting a "frescoed" look, very aged look. I didn't expect this, so I had mixed emotions about it at first. I used it to my advantage & went with it. ***
Once you work with it a few times you can start to see how the acrylic paints start to behave more like oil. You only have to use thin coat of the Clear to prime the canvas. The key word is "thin" coat of the Clear. A little Liquid Clear goes a long way. All joking aside, it never hurts to peep some of the Bob Ross videos on You Tube.
SIDENOTE: Your painting will take A LOT longer to dry than normal. I suggest the hair dryer technique or just be patient. Give it at least 48 hours. You can always hold your masterpiece at an angle to look for glistening areas that would indicate it is still wet. I waited five days before I added a coat of clear gloss medium to "finish" this piece.
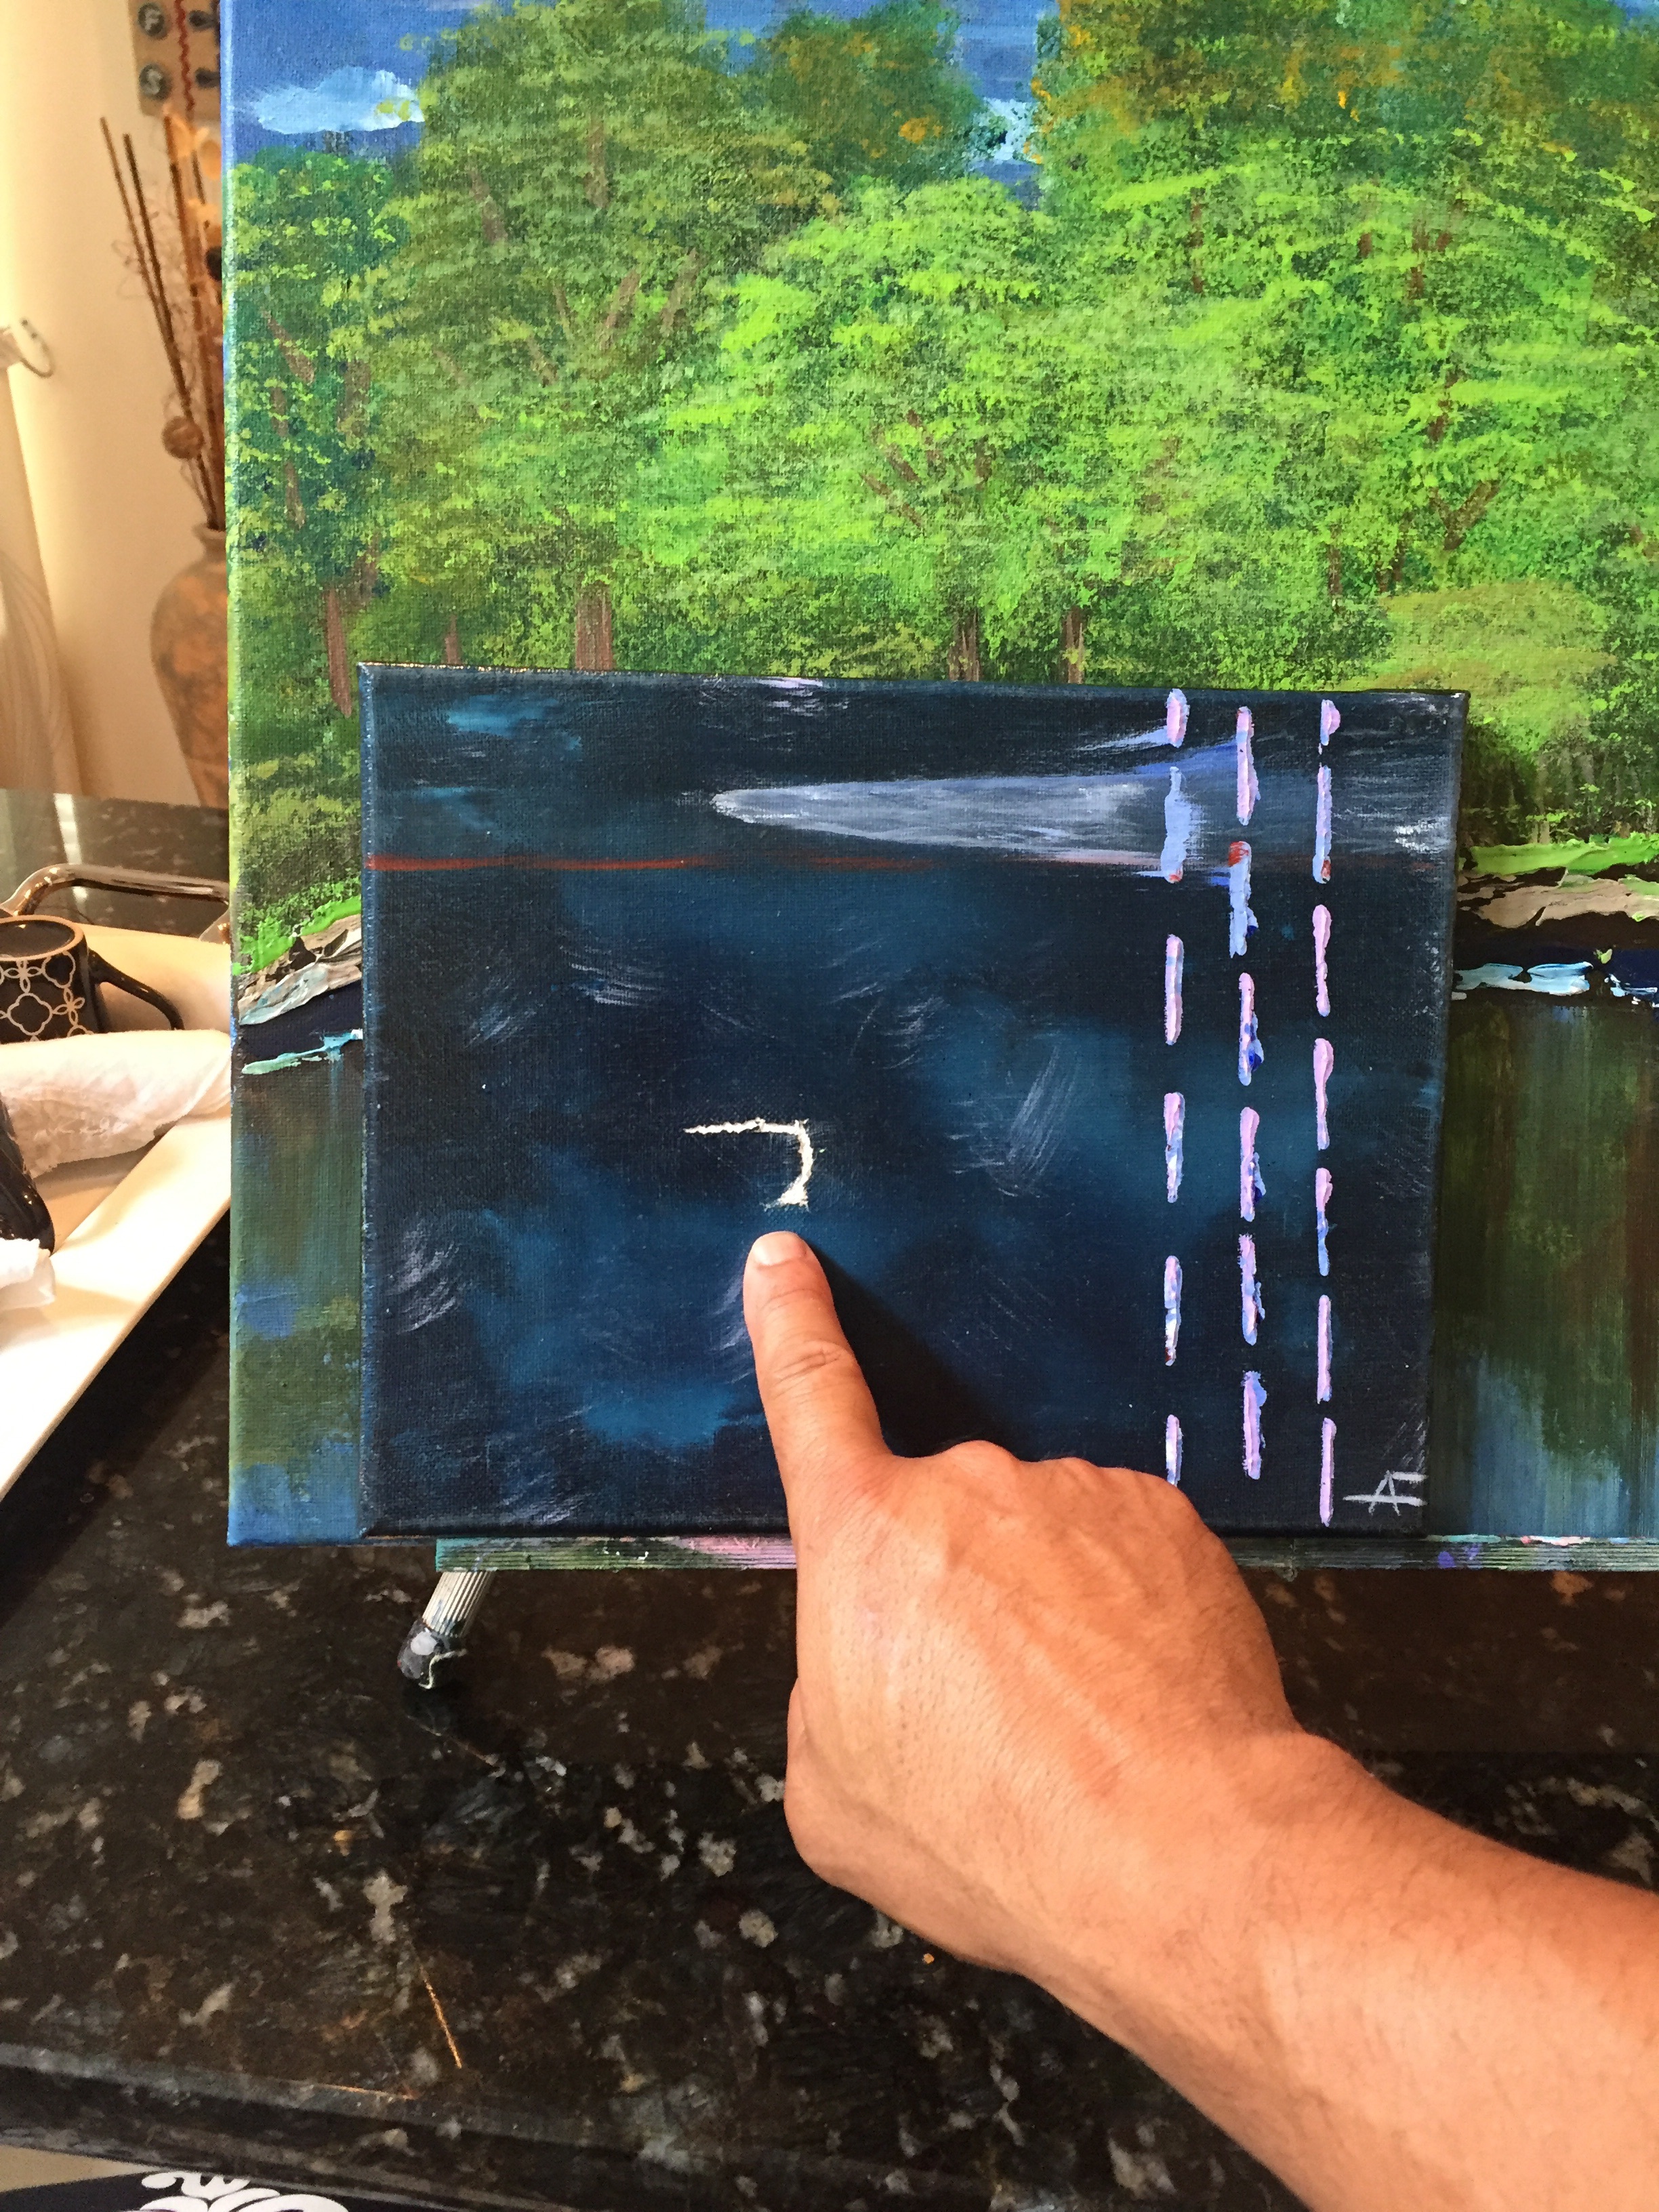
This next painting is an experiment with a very limited palette. Black & White ONLY, on a black canvas. The idea is to let this "BASE" painting completely dry, and then come back over it with colors. It is probably a good idea to let it dry for at least 24 hours. Then come back over the entire painting with a thin coat of the Liquid Clear, and start adding the colors you want to use. I will give it 48 hours to dry, due to the fact that I used the paint knife technique on most of the trees. There is alot of texture on the trees.
I am conflicted as to whether or not to add the color scheme. I may leave the piece as is, and make another piece similar to this one. Adding the colors to the latter piece. TO BE CONTINUED.
DEEP FORREST AND RIVER. DIFFERENT VALUES AND FLAVORS OF ONLY BLACK AND WHITE.
GOOD LUCK from your Uncle ALFRESCO!!