REPAIRING A RIPPED/TORN CANVAS: PT 1

THE FOLLOWING BLOG IS ON HOW TO REPAIR A CANVAS AND "SAVE" YOUR PAINTING....

KEEP IN MIND THESE ARE SMALLER RIPS/TEARS-----

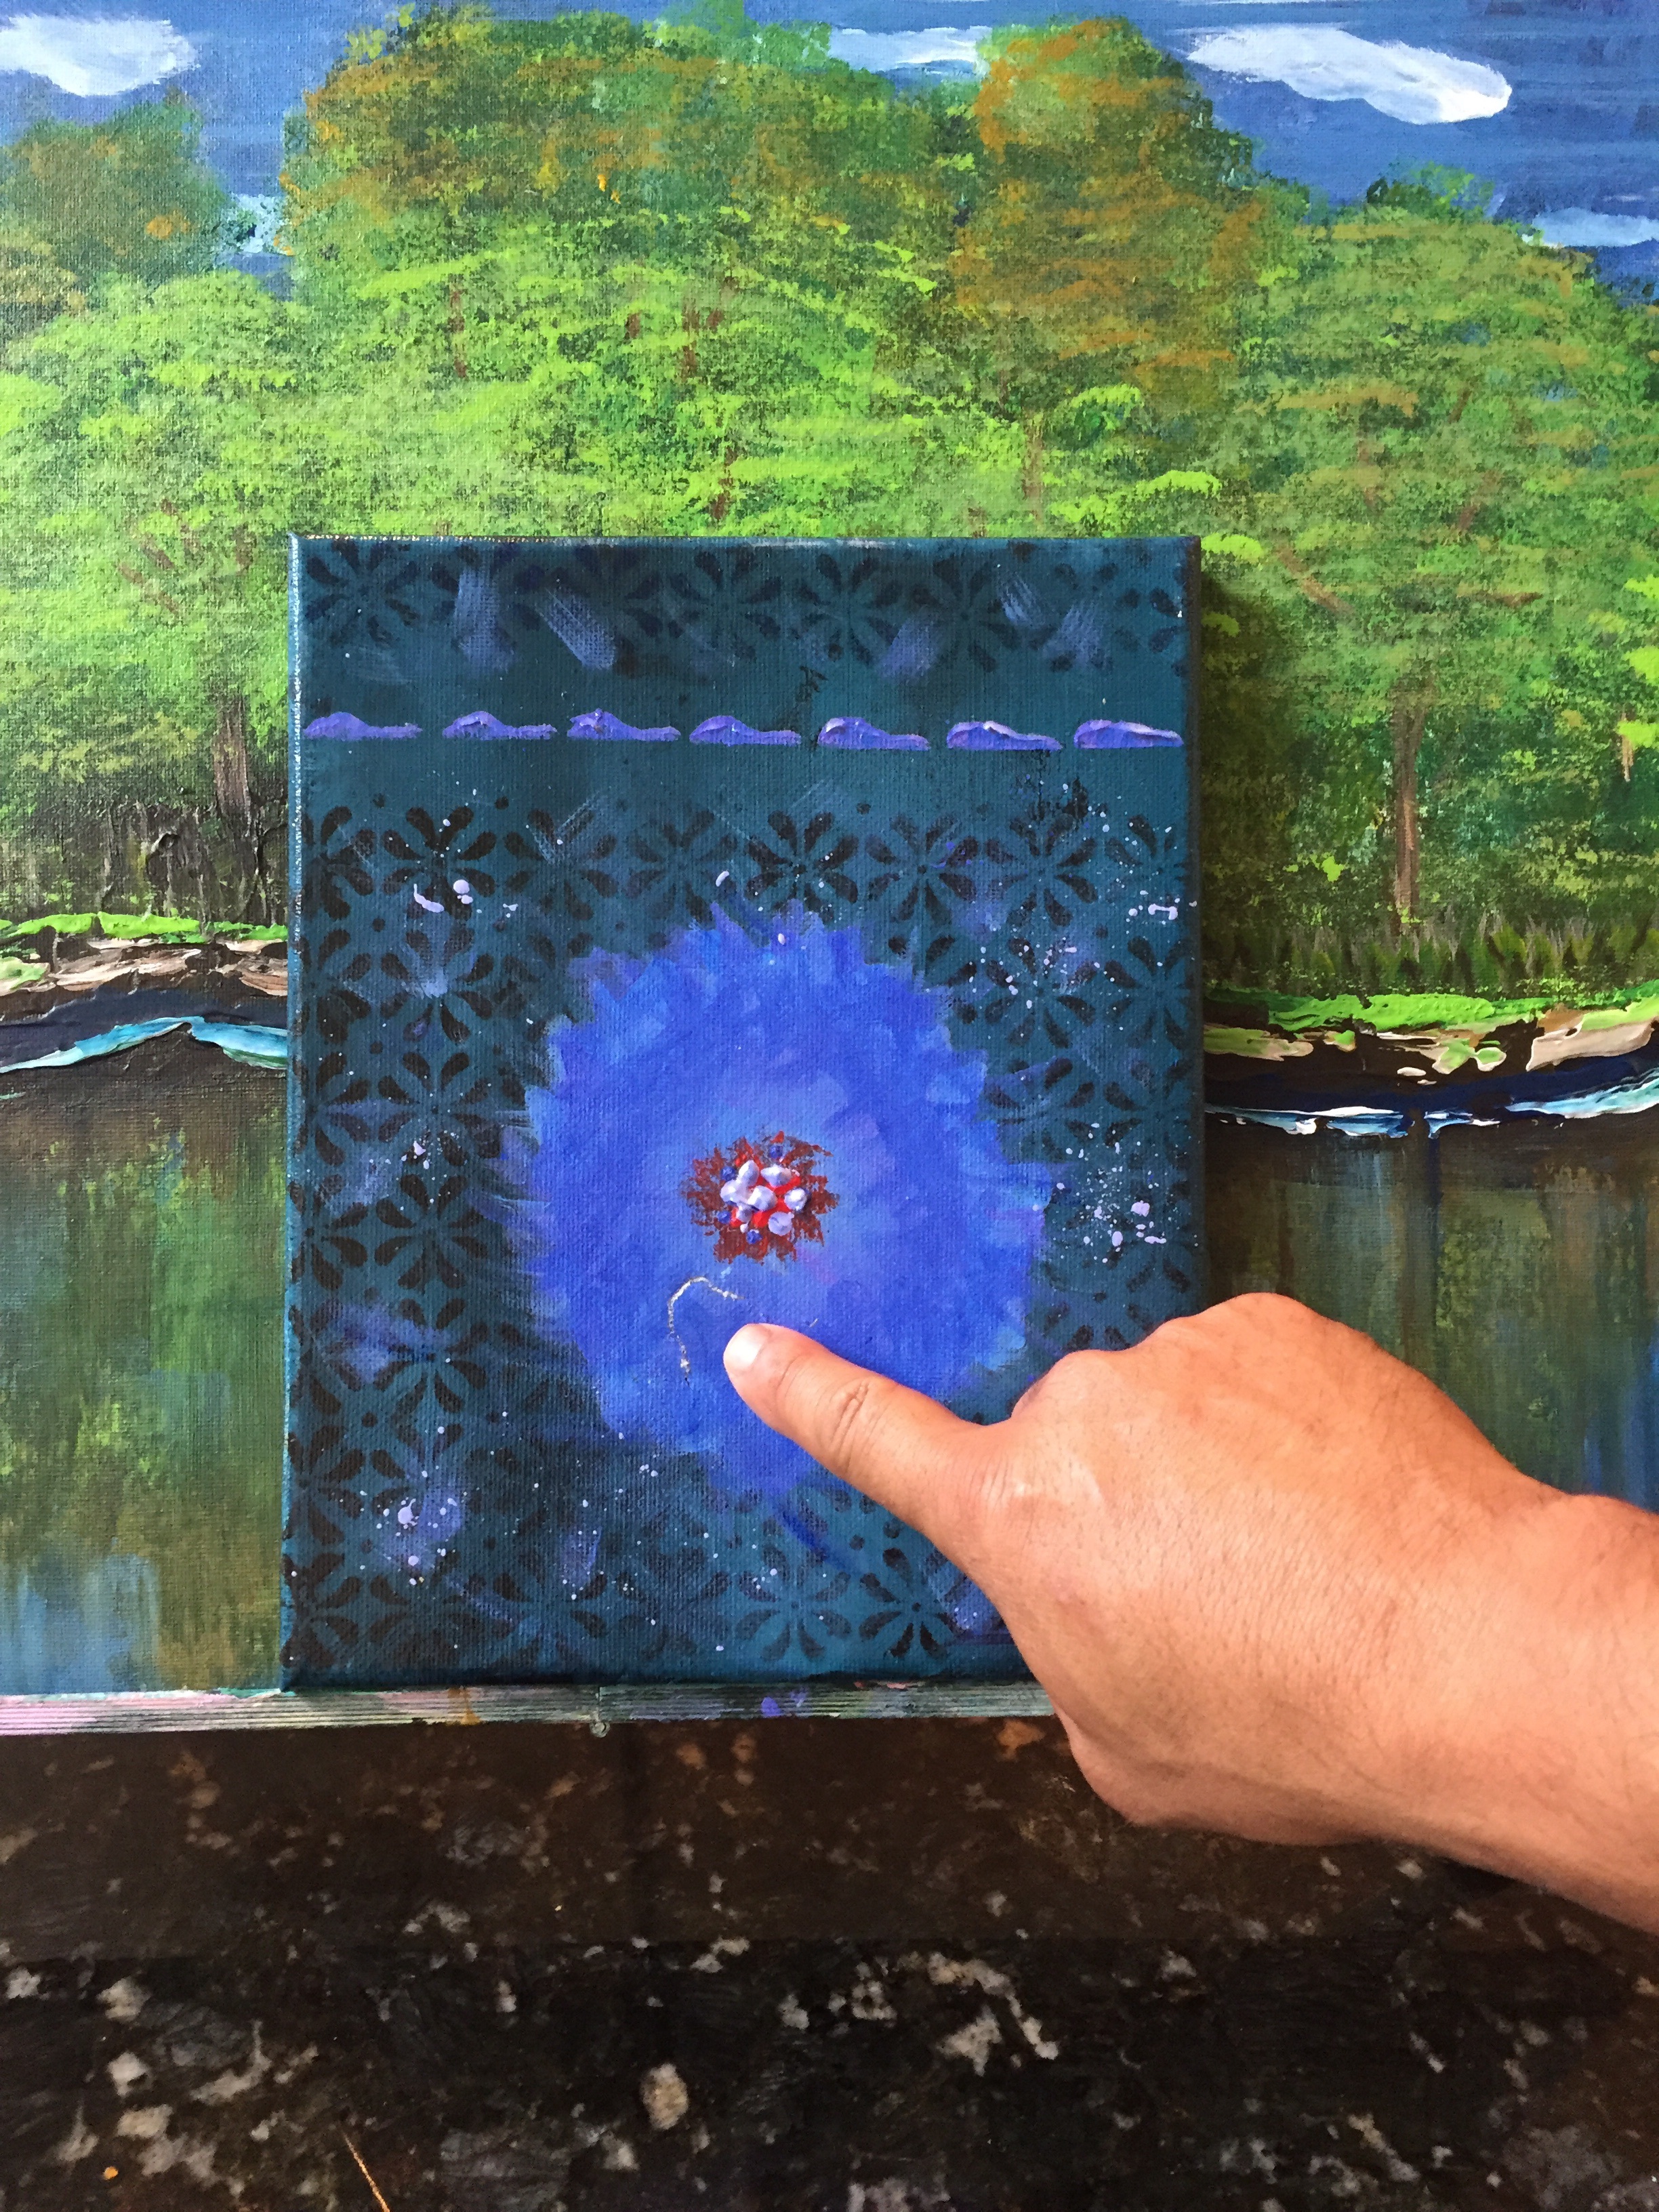
***YOU WILL HAVE TO PAINT OVER RIPS/TEARS TO MAKE THE MASTERPIECE (LOL) LOOK NORMAL AGAIN***

USE YOUR CREATIVITY TO BRING YOUR PIECE BACK TO LIFE...  I DON'T RECOMMEND TRYING TO "MATCH COLORS/PATTERNS" TO FIX THE DAMAGED AREAS. THAT MAY DRIVE YOU INSANE.

 IT'S TIME TO GET CREATIVE!!!  THINK OUT OF THE BOX, MODERN ART-ISH.... SPLATTER SOME COLOR AND GO WITH IT.

image.jpg

Recently I was setting up my artwork prior to a craftshow.  It was a windy afternoon in Orlando.  Some of my pieces fell off my lattice rack.  When I went to pick two of the pieces up, I discovered TWO...not ONE...BUT TWO of my 8 x 10's had been ripped.  A 16 x 20 had fallen on top of them.  

I was disappointed, but I didn't freak out.  I remembered having to repair a brand new canvas a couple of months ago.

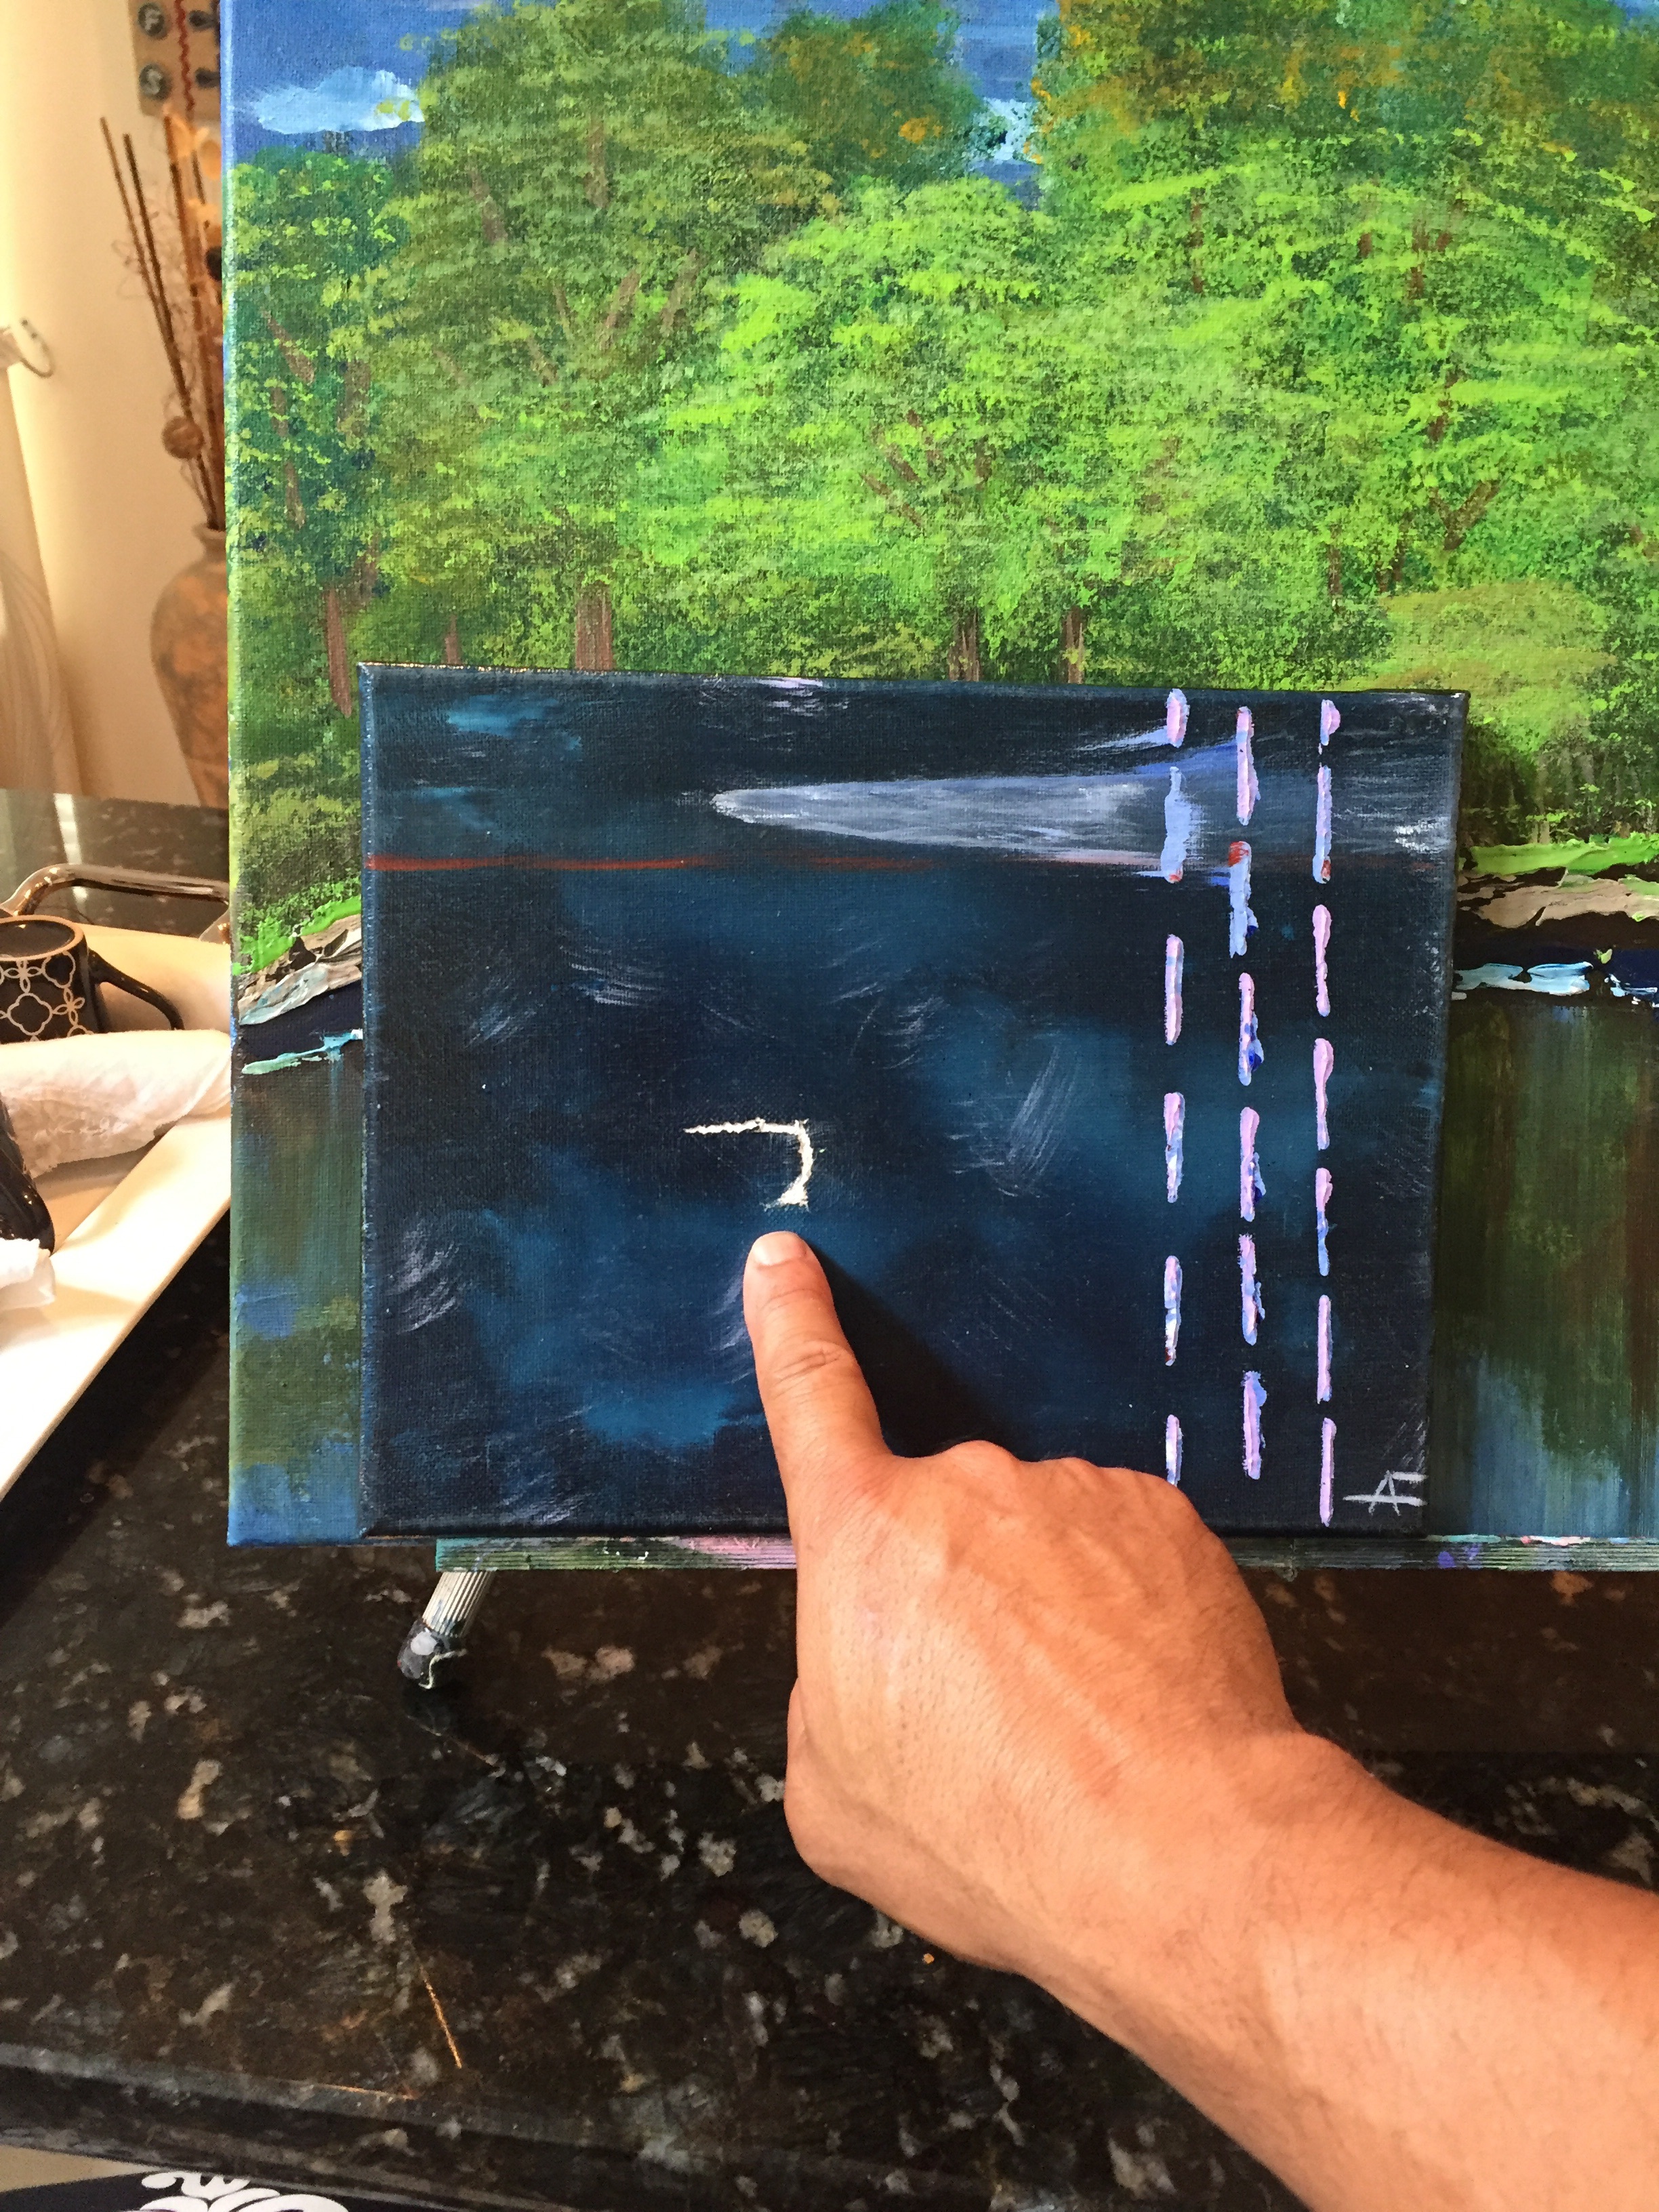
This is how I repaired both canvas.

image.jpg

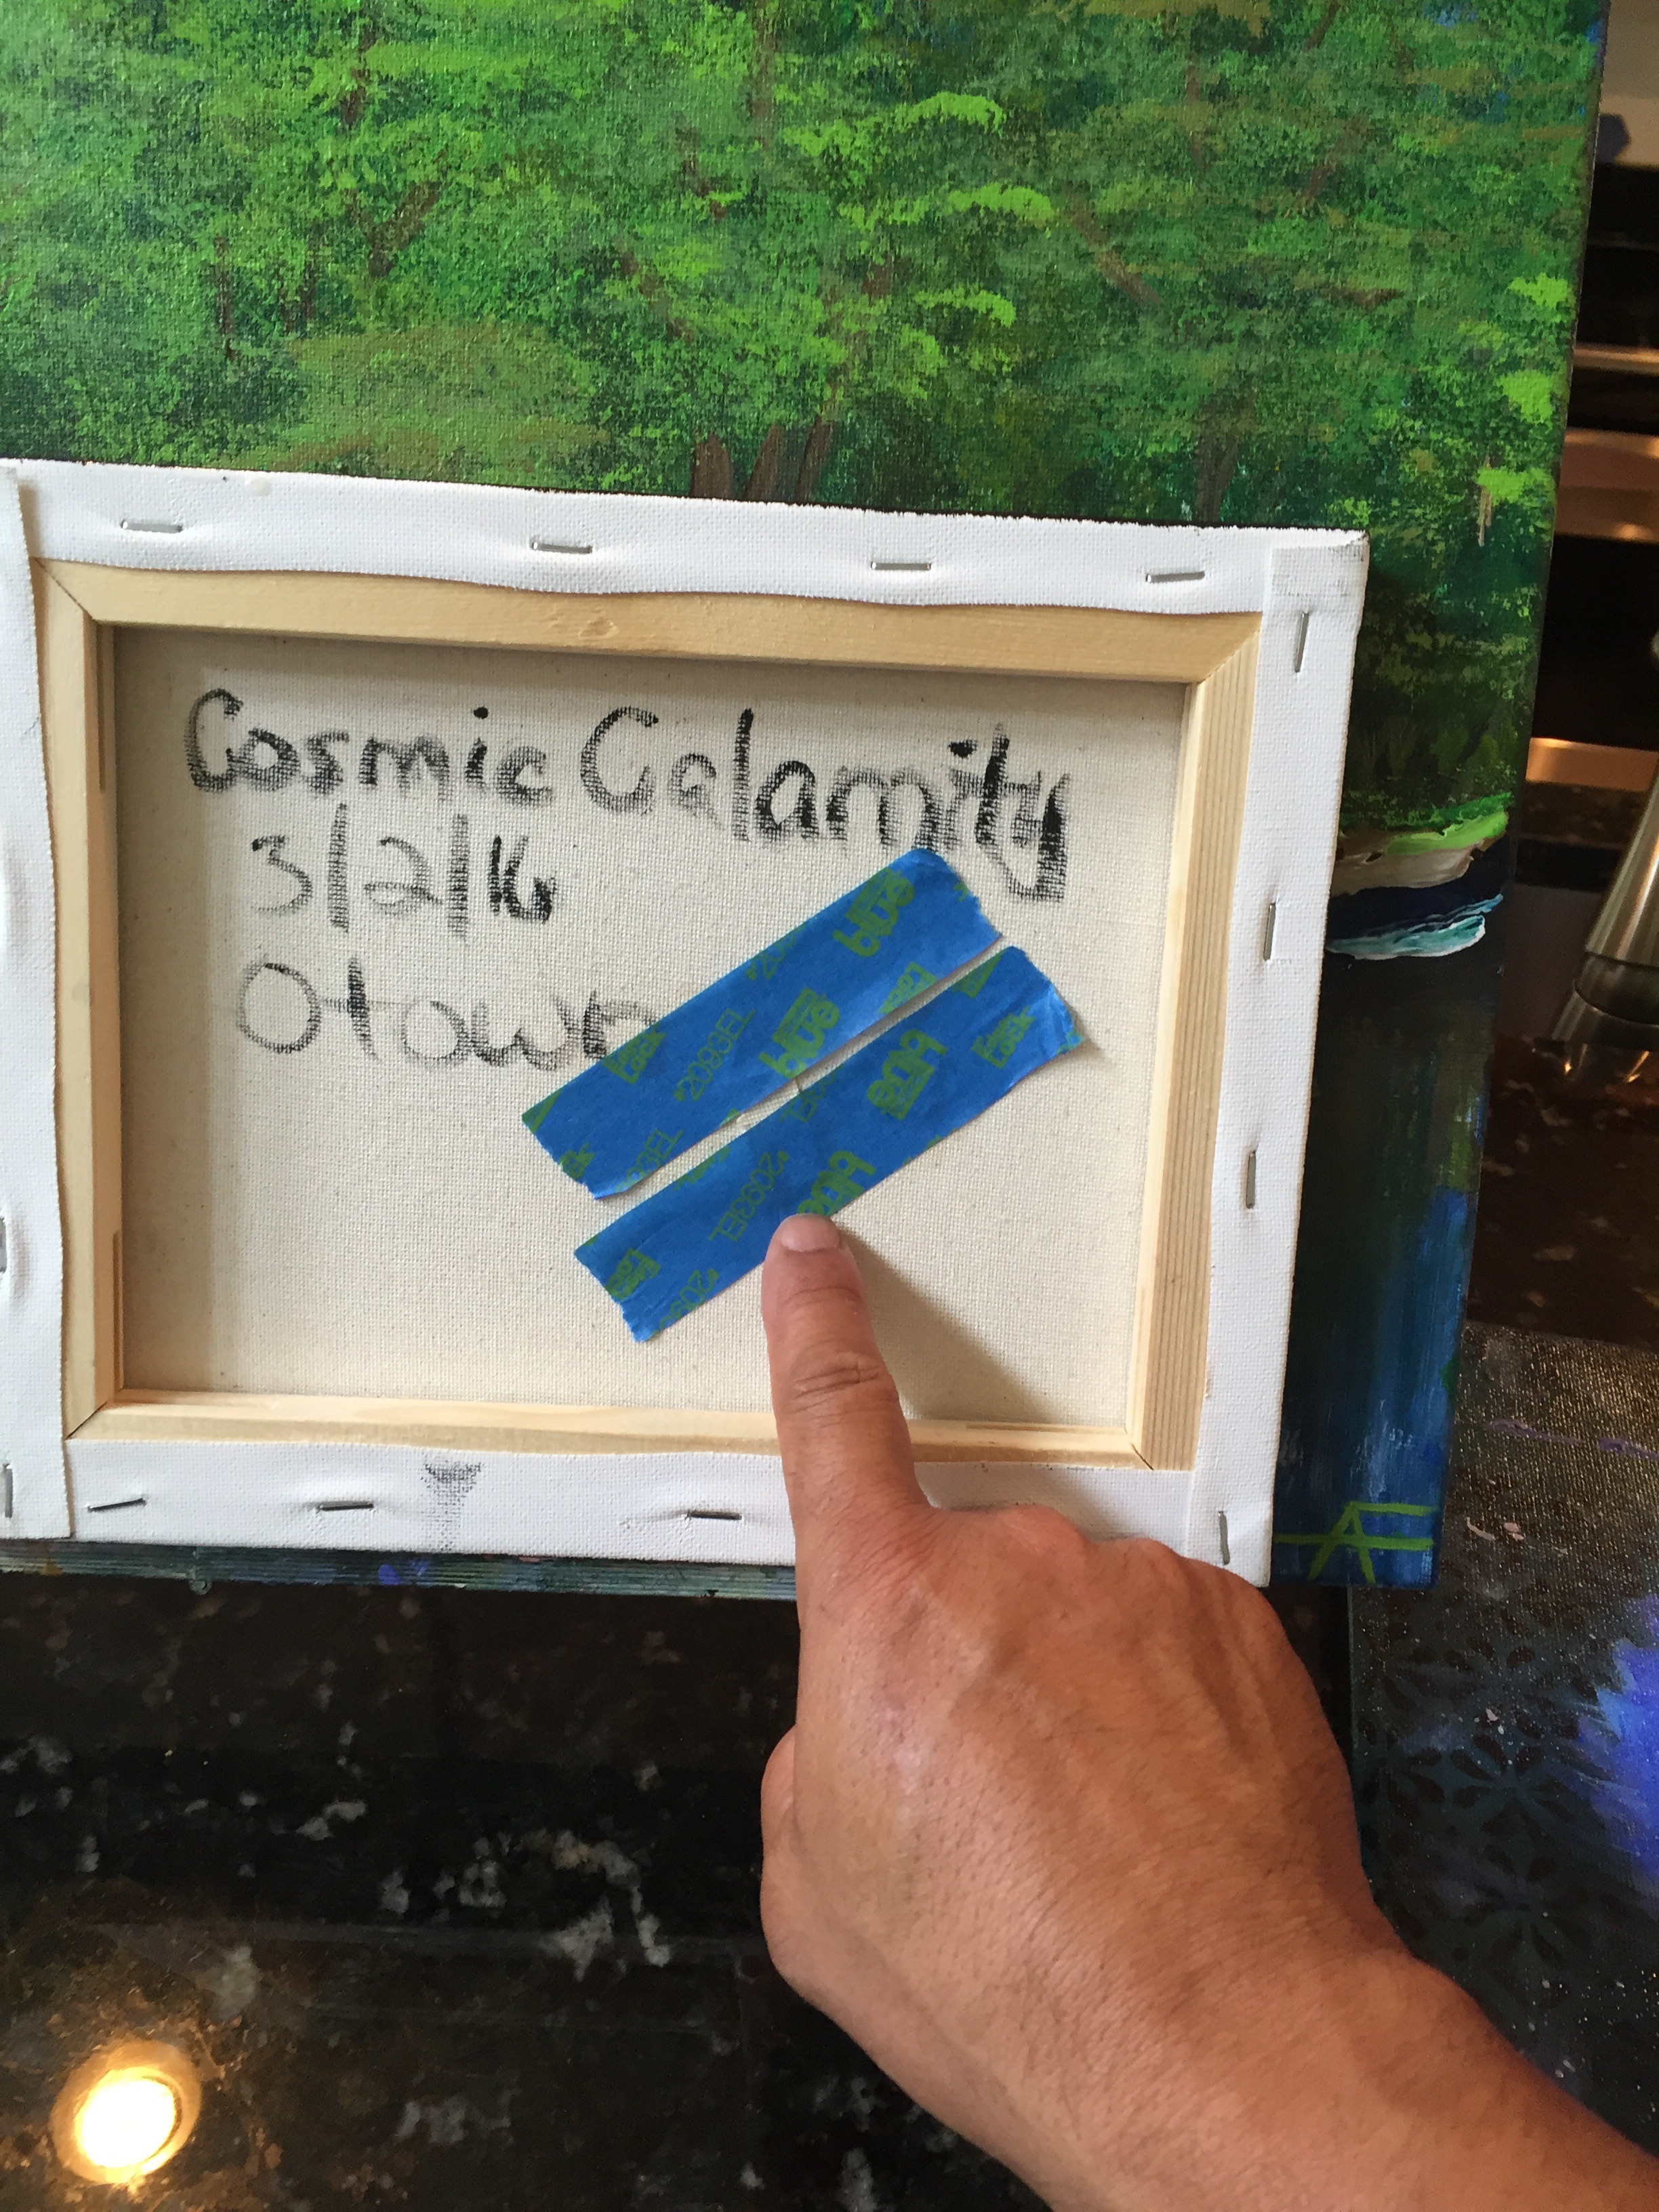
FIRST: I CUT SOME PIECES OF CANVAS FROM THE BACKSIDE, TO "PATCH UP" THE TEAR FROM THE BACKSIDE.

SECOND: I USED GLUE TO SECURE THE PATCHING PIECES OF CANVAS.

THIRD: I USED PAINTER'S TAPE TO SECURE THE PATCHING PIECES OF CANVAS, UNTIL THE GLUE CURED.

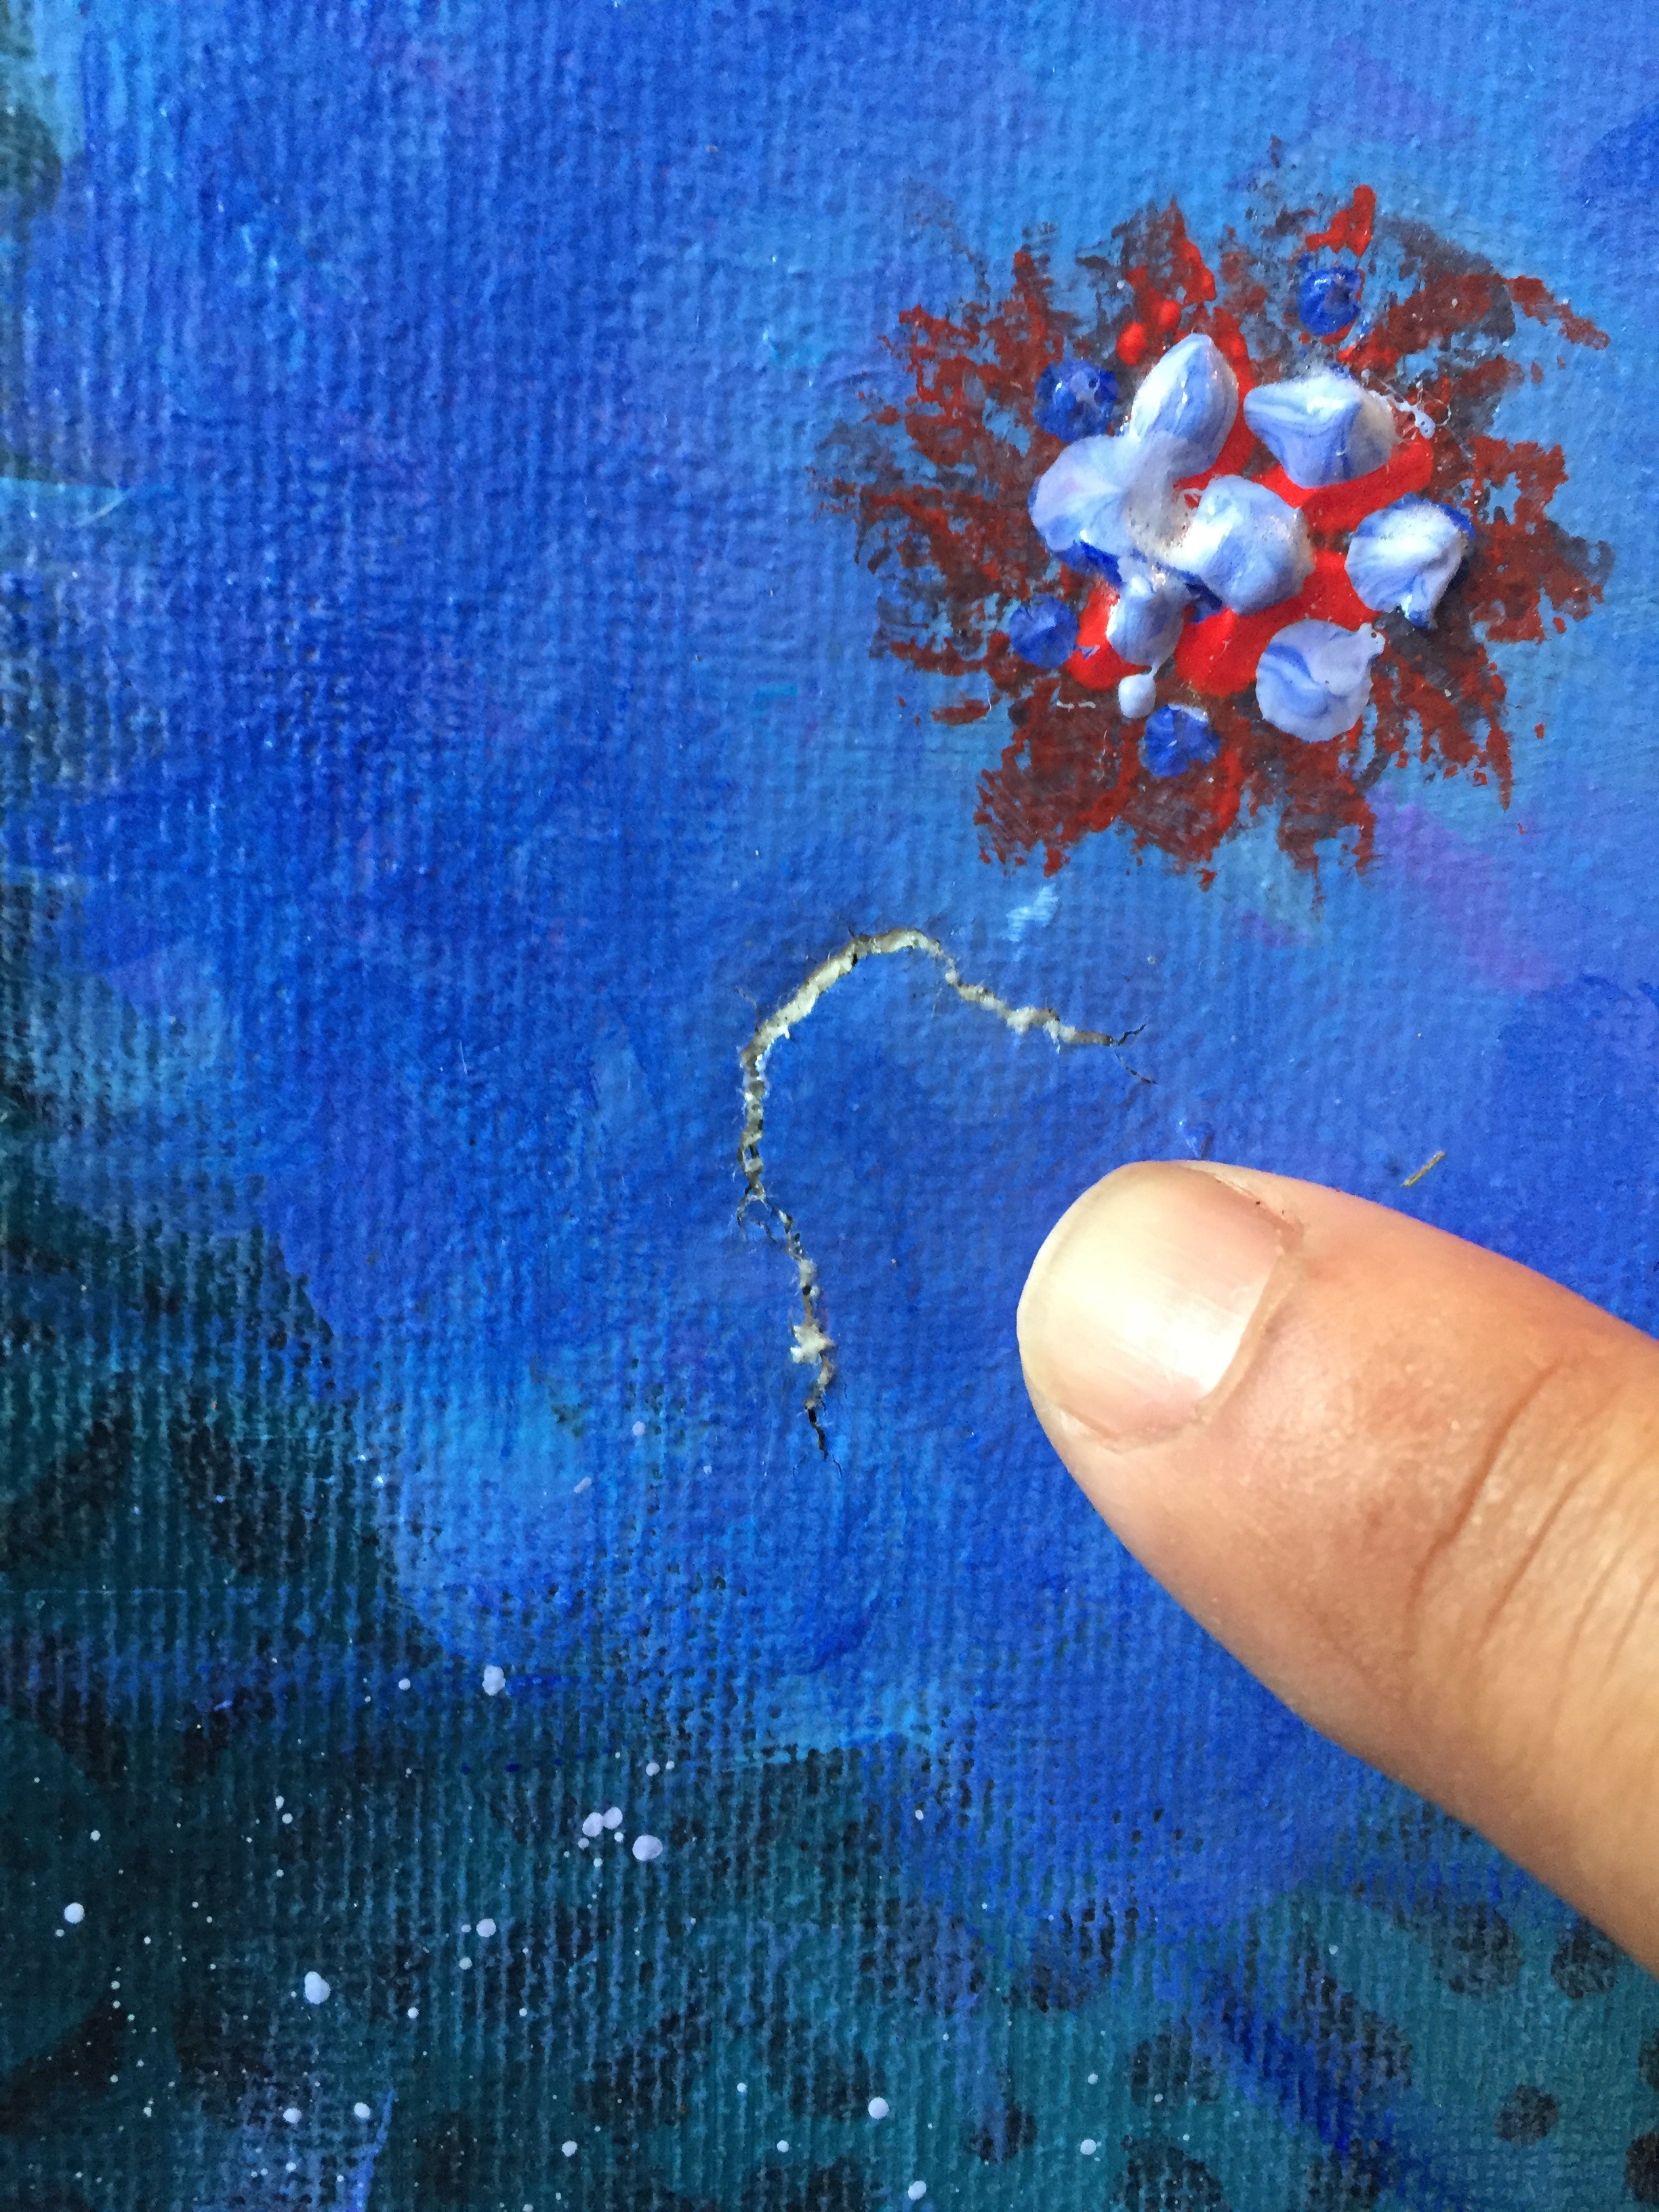
FOURTH: USE A PAINTER'S "MODELING PASTE" TO FILL IN THE GAPS ON THE FRONT SIDE OF CANVAS.  ARTIST'S LOFT MAKES A GOOD ONE. YOU CAN FIND IT AT MICHAEL'S WITH THE ACRYLIC PAINTS. YOU CAN USE A PAINTING KNIFE TO FILL IN THE GAPS WITH THE PASTE.

FIFTH: FIGURE OUT A GAME PLAN ON HOW TO MASK RIP/TEARS THAT WILL GIVE YOUR MASTERPIECE A FINISHED LOOK.

image.jpg

I think the most important lesson I learned from this experience was, that I DIDN'T FREAK OUT.

I simply, put the damaged pieces to the side, and finished setting up my tent for the show.

image.jpg
image.jpg

I'm not sure how I will exactly "paint" over the rips...I do have a couple of ideas....

That will be PART 2 of this blog.

PEACE OUT YA'LL

WATERFALL @ THE FLAMINGO IN VEGAS

I recently visited Vegas for a friend's wedding. That's about the fifth time I've been there in my adult life. My first visit was as a child with my family. I was probably five or six, and we stayed at Circus Circus.  

For My recent trip I stayed at the Luxor. That was my second time there. I love the Fact that I can say I have slept inside of a pyramid. I also love symbols and the Luxor is teeming with symbology and an Obelisk to boot. Super pagan.

I met up with my friends at the Flamingo, and we took a stroll through the wildlife habitat. It's truly a paradise in the desert and a hidden jem nestled just off of the noisy and sometimes ab- noxious strip.

I saw this cool waterfall and caught some inspiration in Vegas. Inspiration is everywhere if you just look. 

image.jpg

When I got back I was excited to paint my interpretation of the "Flamingo Waterfall". 

This was it...  I wanted the waterfall to be more intense. I used the palette knife for the rocks.  They have lots of texture. 

image.jpg

The Wildlife Sanctuary at the Flamingo is free and even has a bar to boot.  

The highlight at the Sanctuary is a flock of Chilean Flamingos.  Maybe I should add one. Hmmmm.

Peace out ya'll

C.A.M.


SUNDAY FUNDAY TOUCH UPS.

I've been sick for three & a half days. I'm finally feeling better, so I decided to do some touch up work today. 

First I touched up "Medieval Doors" by adding some gold highlights on the doors.

SIDEBAR: This painting has a simple "Caesar Cipher" code embedded below the door handles. Drop me a line if you decipher it.  The doors are from the "Church of the Holy City" in Washington D.C.  I visited this church several times while living in Annapolis.  I also painted the church in "Diesel's Journey Home/Leap of Faith".  I dreamed about these doors by themselves one night and this is what it looked like...sort of:)

Next I re-applied another coat of gloss finish. This time brushing it on, as opposed to spraying it on. The spray gloss is very tricky to apply. I find it easier to apply it onto small pieces.  Generally 8 X 10 & smaller. It's scary good on those sizes.

After that, I decided that I needed to add "something" to "Pink Skies & Sunflowers".  I decided to add a tree to give the painting more depth.  I used a paint knife technique for this tree. I re-applied a coat of gloss afterwards.

PINK SKIES, YELLOW FLOWERS

FINALLY...I took the honeycombs out of this latest piece (KEY TO MY DREAMS) I've been working on, changed the pink clouds to black/white, and added the eye of ra where the honeycombs were.

BEFORE

AFTER

BELIEVE IT OR NOT: There was a cloud where the Eye of Ra is.  It looked like a giant gator chomping it's way through the painting...Although I'm a Florida Gators fan...HE HAD TO GO!

PEACE OUT YA'LL!

HAPPY LITTLE FIELD TRIP

So I recently found out that Legendary landscape artist Bob Ross, or as I like to call him: The "Pbs Art Gangsta", has a gallery in New Smyrna Beach Florida. I planned a Saturday morning trip, only to arrive at a dark & empty shop...It seems they were closed, due to a "happy little vacation."

Oh well, on to explore New Smyrna Beach's art scene. PEACE OUT YA'LL

Look...He's laughing at me from the afterlife...LOL🙀 

Look...He's laughing at me from the afterlife...LOL🙀 

My "Happy Lilttle Face" b4 discovering they were closed... 

My "Happy Lilttle Face" b4 discovering they were closed... 

CANVAS PREP

T.G.I.F. YA'LL. Recently I was prepping (priming) a canvas for a new piece. I took a pic of the canvas because I wanted to remember how I started the piece (memento moment😜). After finishing the piece, I realized I really liked what I did in the initial prep stages, and decided that "idea" could work as the basis for a future painting. This was what the "prep" looked like.

Idea for "Awareness" Series. 

Idea for "Awareness" Series.