HOW TO DESIGN YOUR ARTWORK BORDERS (OR NOT)
BETSY ROSS
Greetings everyone from the C.A.M and happy Memorial Day Weekend. I hope you’ve had a fantastic spring.
I’m here today to drop a quick blog on the topic of “BORDER WORK.”
So you’ve finished up your masterpiece that you’ve been working on so hard, and now you don’t know what to do with those border details?
Should you paint them a solid color?
Black them out?
Extend the painting around the edges?
Add a design?
What to do, what to do?
Well my friends, the COMPLICATED ART MAN cannot make that decision for you. What I can tell you though is, that border details are very important to your masterpiece & may be even more important to the potential buyer of said masterpiece. Border details may make or break a sale for you.

TREE OF LIFE (6x6)
So what do you do? Leave them alone? Go touch up all of your past paintings’ borders? I don’t think there’s any reason to hit the panic button. The intention of this article is mainly to bring attention to this issue.
In my experience, I’ve noticed that attention to border detail is very important to many people. I’ve overheard many people chatting about border design & details at many art exhibits. Sometimes giving kudos, sometimes not.
Deciding what to do about the borders on your paintings will be up to you. I base my decisions case by case.
I’ve had conversations with other artists and they’ve run into similar scenarios where they’re unsure of what to do. As artists, we are all extremely different. Some say, “That’s the way the painting comes, take it or leave it.” Others will try to accommodate the buyer, within reason.
I fall into the latter category: WITHIN REASON.
This topic has prompted me to shed some light on my experiences with this “Border Detail Dilemma.”
Recently, I sold a painting and explained to the buyer that the piece came as is. The borders were part of the creation process specific to the organic design of the piece. They understood and voila, everything was copacetic . The piece found a new home.
Below are some pics of my creations and the border detail that I’ve incorporated into the pieces.

CANTO VII
Canto VII was a piece about greed and excess, hence the dollar symbol design.
I custom made a dollar bill symbol stencil specifically for this painting.

The Econ Sees You
For The Econ Sees You, I wrapped the trees around to the edges.

6 Hibiscus Upside Down
For Six Hibiscus Upside Down, I used a flower stencil design. I tapped the brush with varying amount of pressure, to give the stencil design a distressed look.

Serenity #5 (Serenity on the St. John’s River, St. Augustine)
The Serenity series was based all around being near or on the water in Florida. For this series I used a raindrop/mermaid scale design.

Serenity #3 (Serenity on the St. John’s River)

Serenity #1 (Serenity on the St. John’s River)

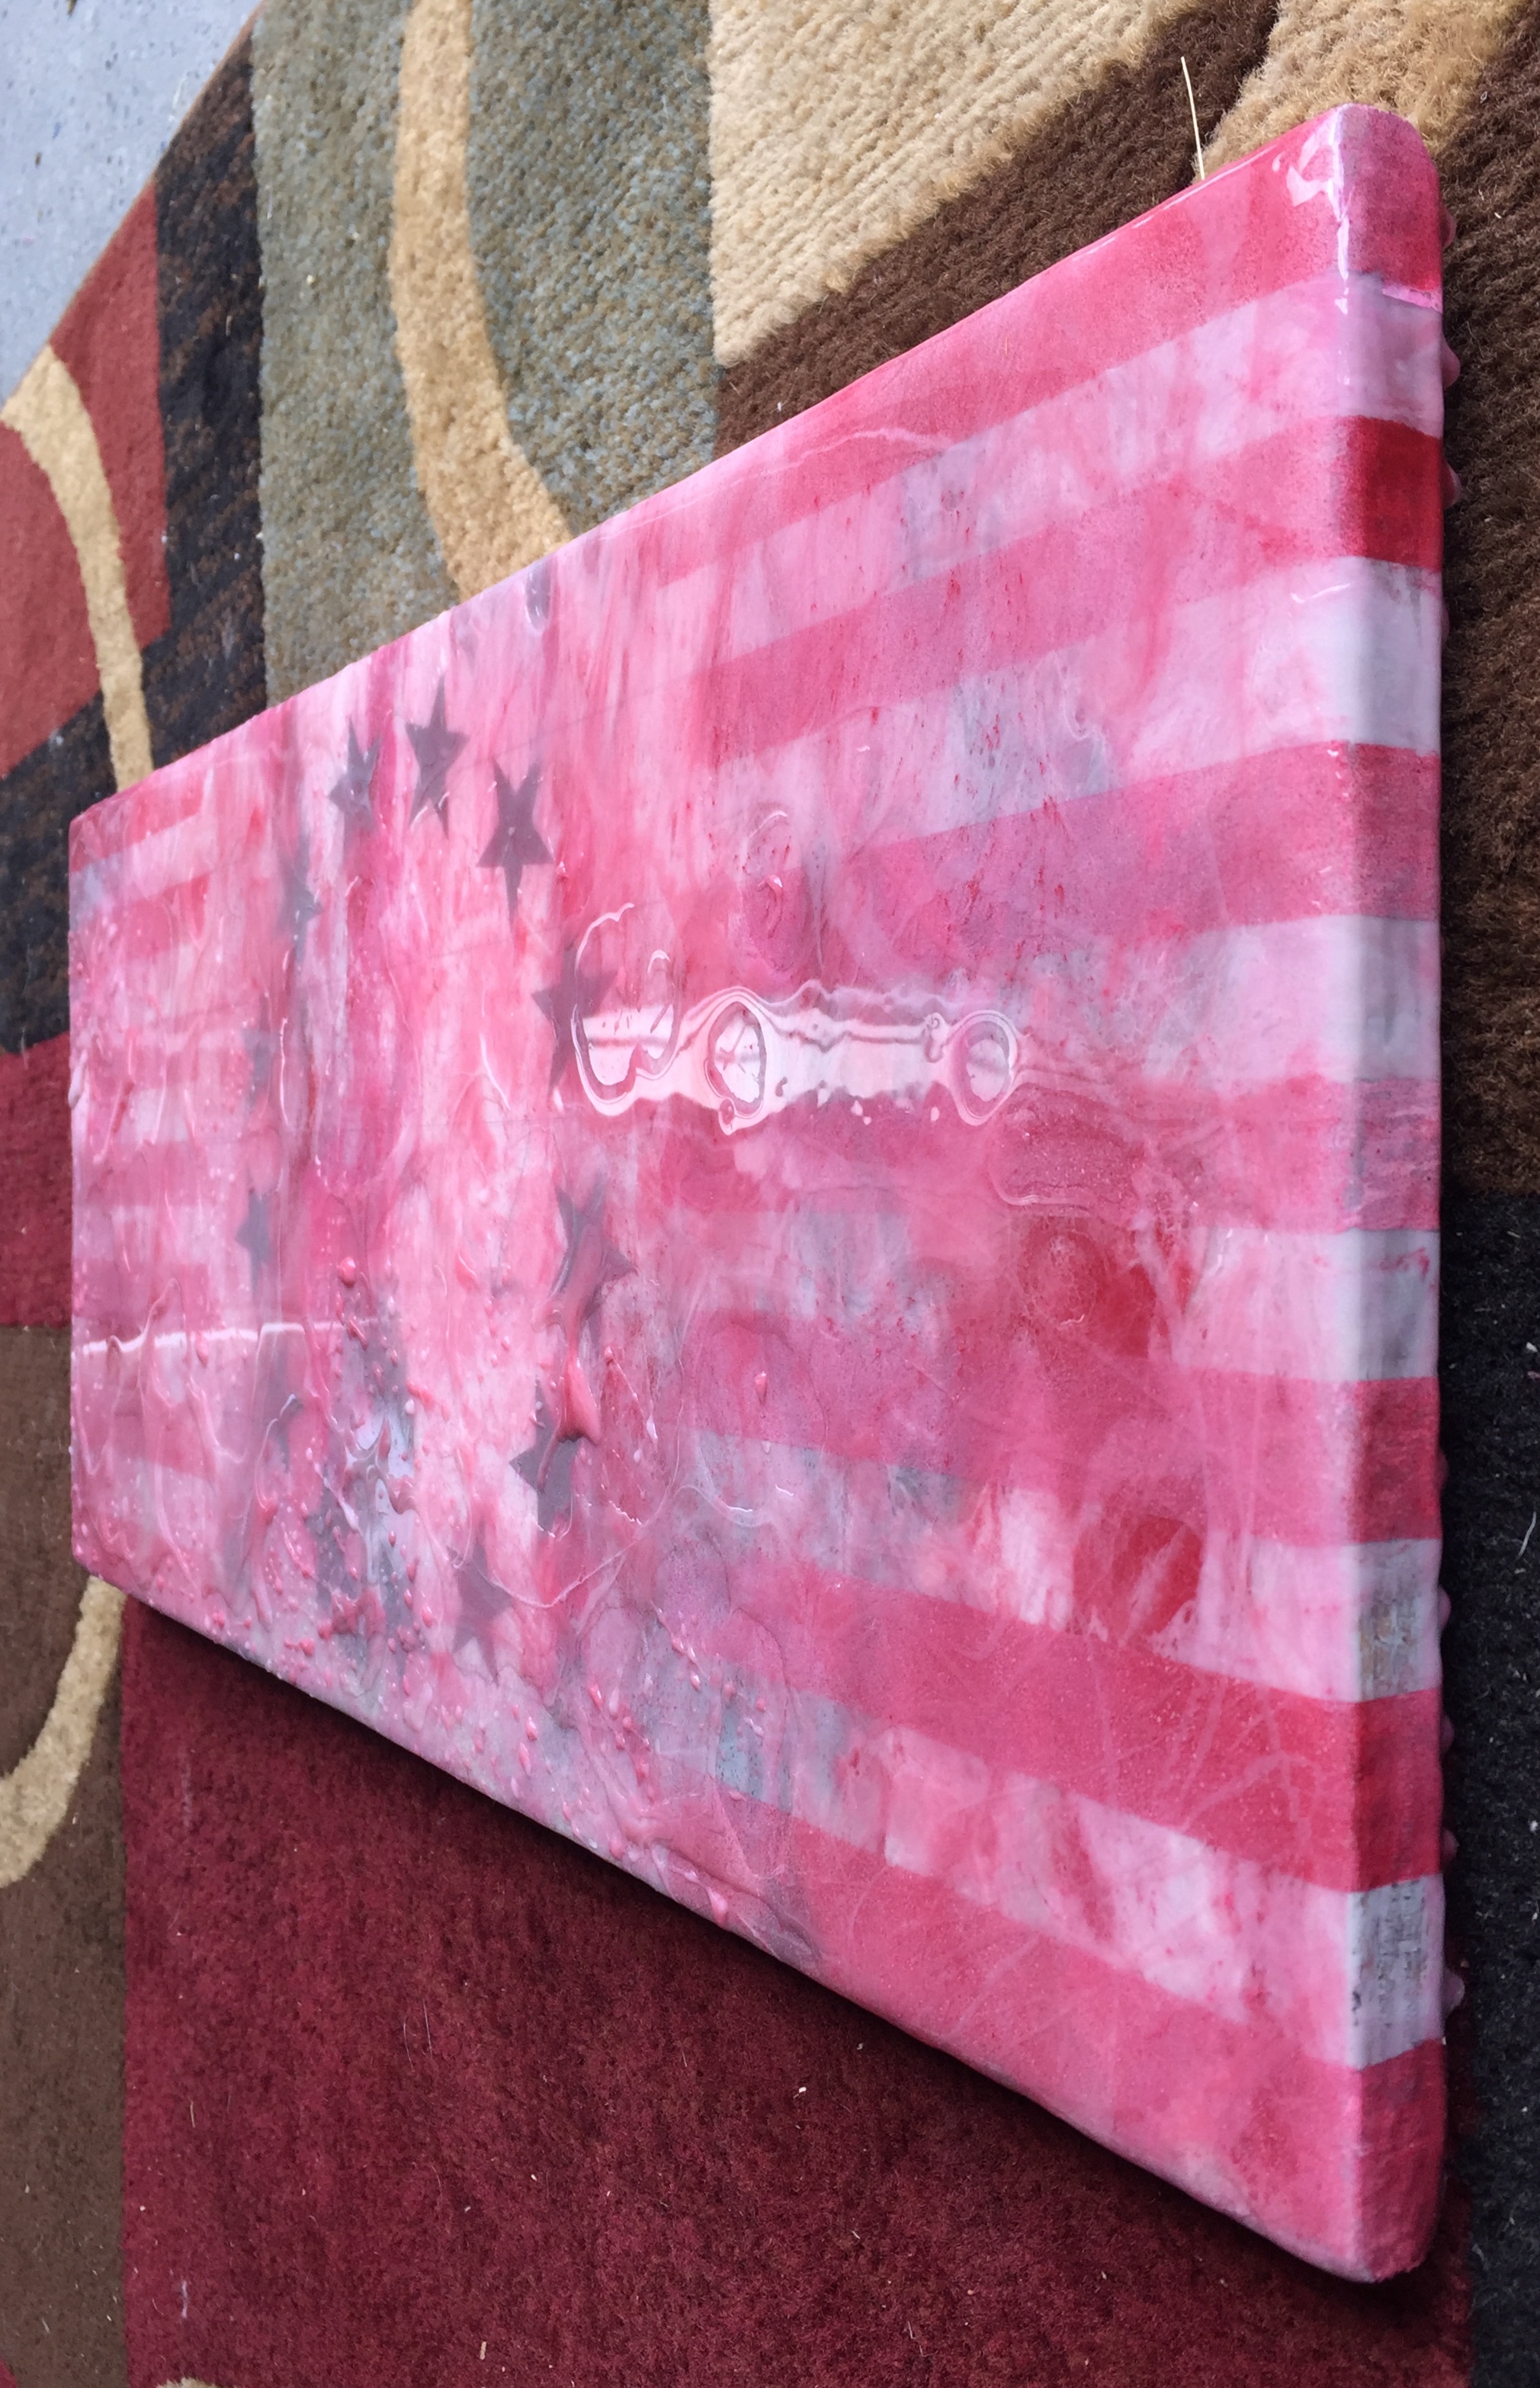
OLD GLORY (spray painted resin on wood)
For Old Glory I used spray painted resin. I ghosted the spray paint all the way around to the edges. This was a really fun painting. If you haven’t tried working with spray painted resin, I highly recommend it. I have a video of the creation process to this painting on my You Tube Channel. Here is the link:

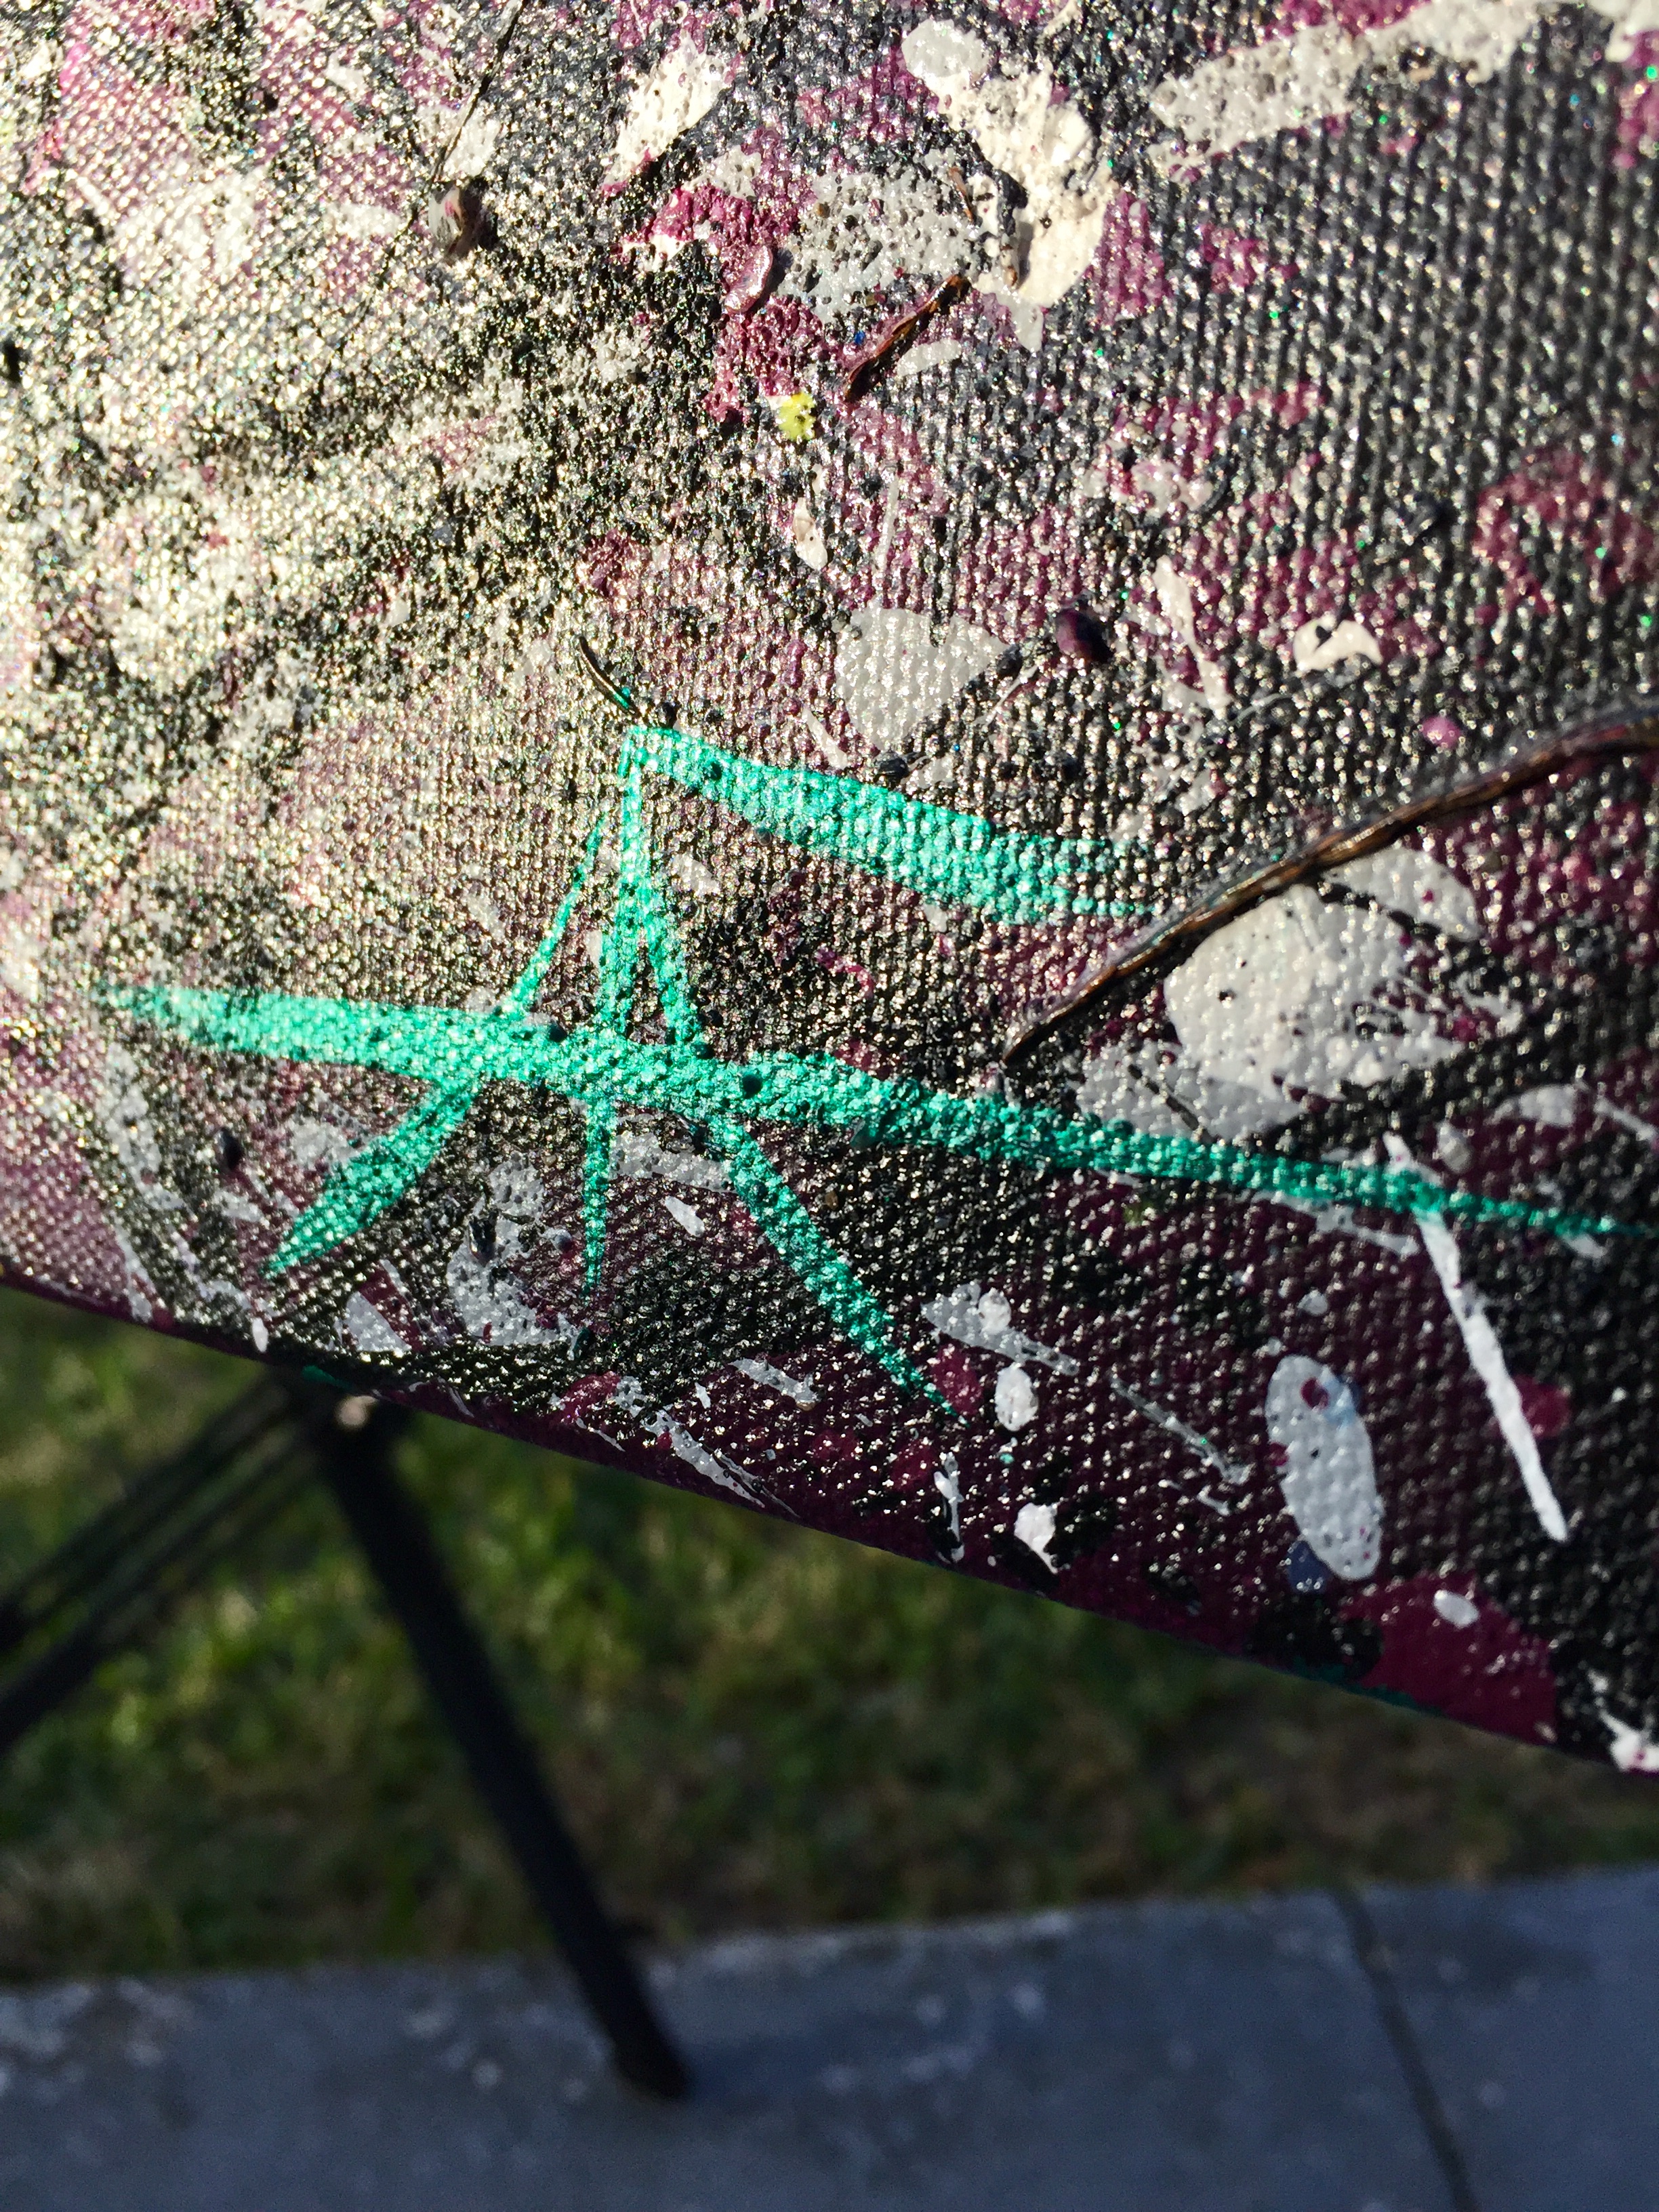
PEPPERMINT SPLATTY 2019 (on wood)
Peppermint Splatty: I used acrylic paint and wrapped the design around to the edges. Then finished it off with two coats of resin. The seashells are from our beautiful Florida beaches. Here is a video of the creation process for Peppermint Splatty

TREE OF LIFE 2019
With the Tree Of Life I used a loose broken stroke technique. I love this technique and use it often. It’s very free and rewarding. That is how I like to paint: free and loose.
This technique makes me feel great and elated, not stressed and uptight.
Here is the link to the time lapse video of the TOL paint process:
With all of this being said, sometimes I add a design to the borders and sometimes I don’t . It could be a stencil design or maybe some sort of artistic technique. The decision will be up to your individuality and style to decide what to do.
BIG DECISIONS MY FRIENDS!
What kinds of border techniques do you incorporate into your masterpieces?
I hope this article helps you out. Let me know in the comments down below, even if it didn’t help lol.
GOOD LUCK & until next time you know what to do:
STAY CREATIVE and KEEP ON PAINTING!
Uncle Alfresco out- CHEERS!